




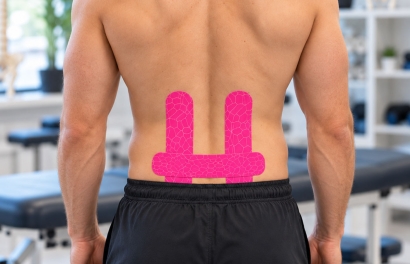
The H-Pattern Method
A stiff or aching lower back can make ordinary movements feel unexpectedly demanding. The H-pattern is a straightforward way to apply flexible kinesiology tape around the lumbar muscles while keeping the spine free to move. Here is how to use it safely and what the research actually tells us.
How does lower back taping work and why might it help?
Unlike rigid sports strapping, kinesiology tape moves with the body. The two upright strips of the H-pattern follow the erector spinae muscles beside the spine. A third strip crosses the area of discomfort, creating a broad tactile cue when the wearer bends, sits or stands.
Proposed explanations include changes in sensory feedback and a slight lifting effect on the skin. However, the idea that tape reliably decompresses pain receptors or corrects muscle function has not been established. Any benefit may reflect a combination of skin sensation, comfort and expectation.
A 2026 systematic review covering 54 randomised trials and 3,479 participants found possible short-term improvements in pain and function. Results for persistent pain and longer-term outcomes were less convincing. NICE guidance continues to prioritise remaining active and appropriate exercise rather than relying on tape alone.
Is the H-pattern suitable for you?
This approach is generally considered for uncomplicated muscular discomfort across the lower back, provided movement is tolerable and the skin is healthy. It may be useful as a temporary addition to a broader self-management or physiotherapy plan. It is not a treatment for a suspected fracture, infection, nerve compression or unexplained severe pain.
Check before taping: Do not apply to wounds, rashes, sunburn or fragile skin. Avoid use if you know you react to adhesives. Seek clinical advice when sensation is reduced, the skin is particularly delicate or pain is new and unexplained. Back pain with bladder or bowel changes, numbness around the genitals or symptoms in both legs needs emergency assessment. See the NHS back pain advice.
What you need
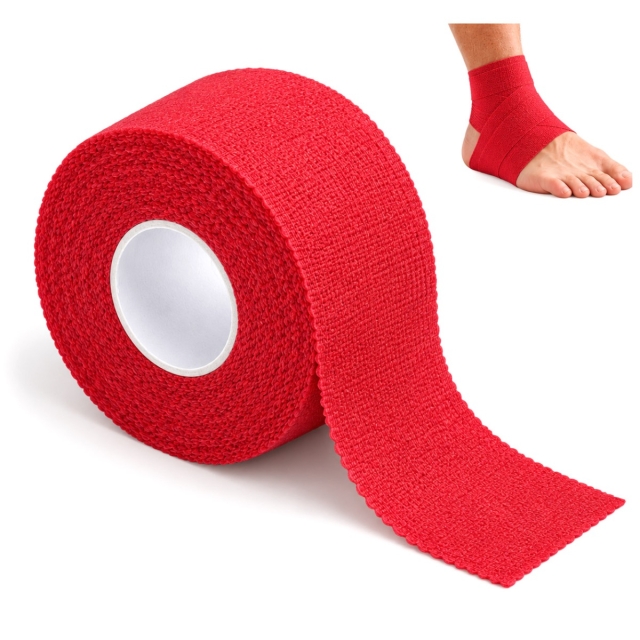
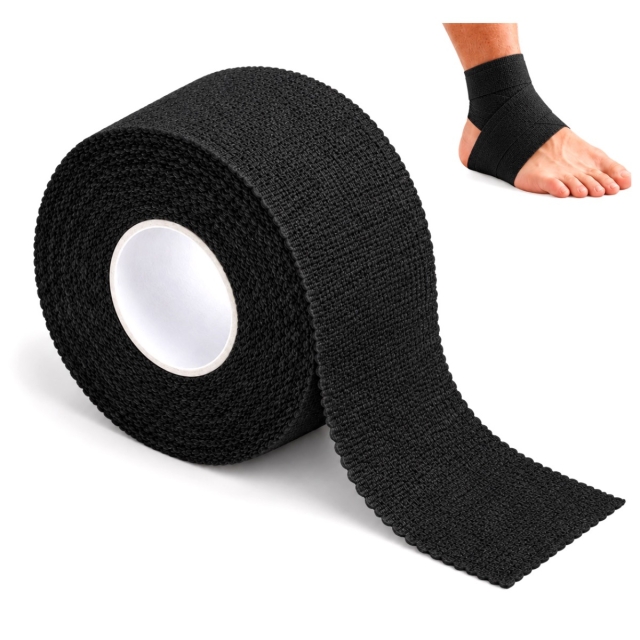
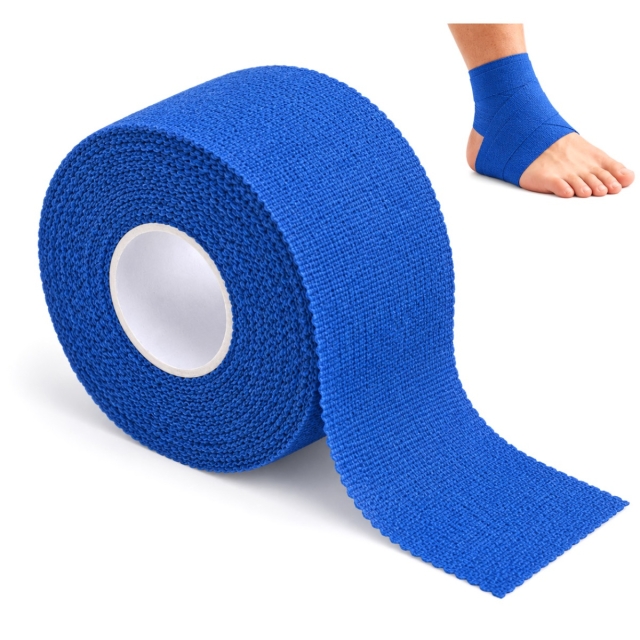
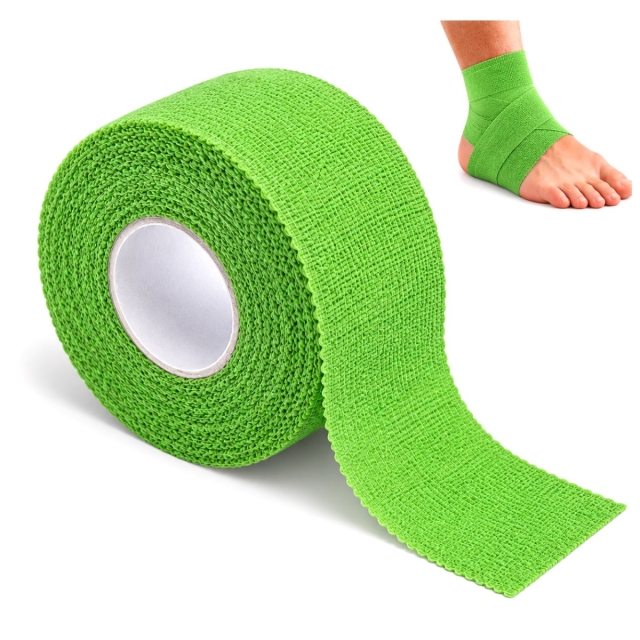
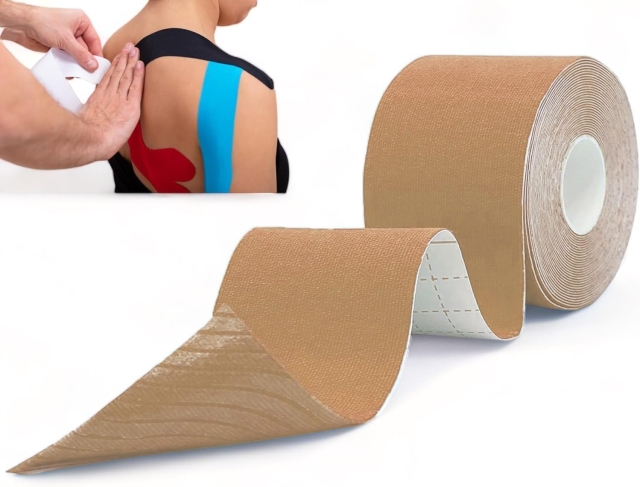
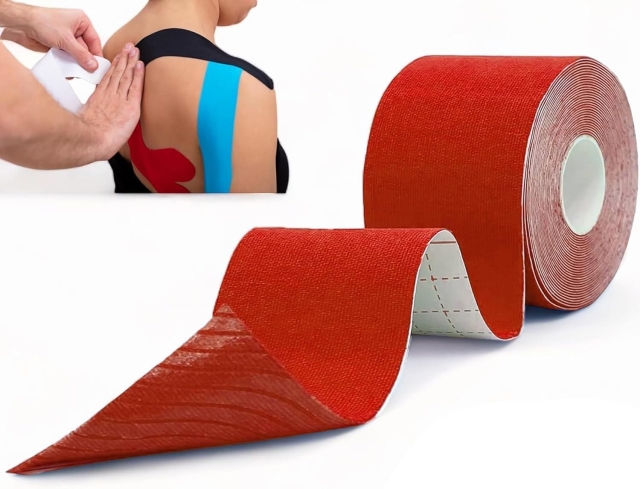
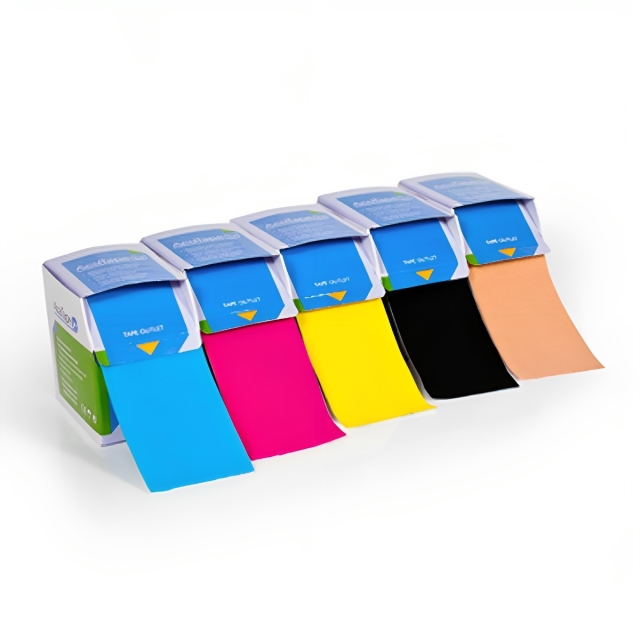
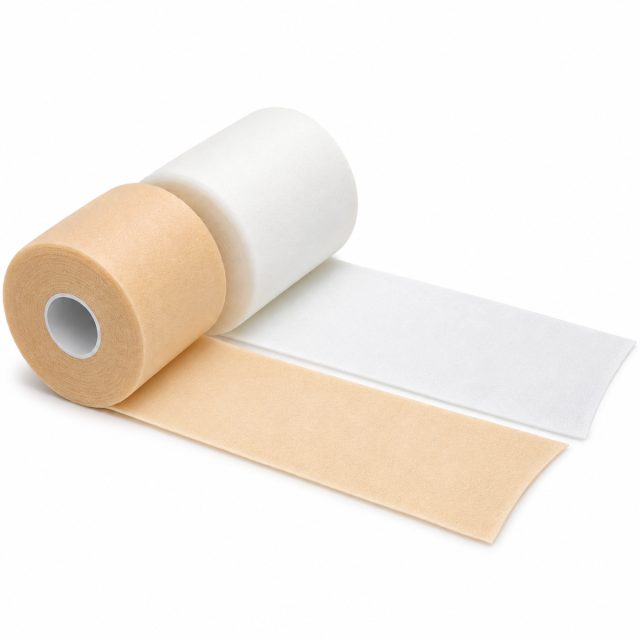
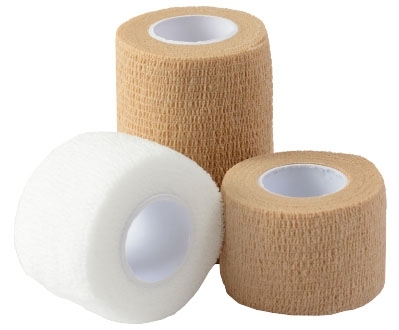
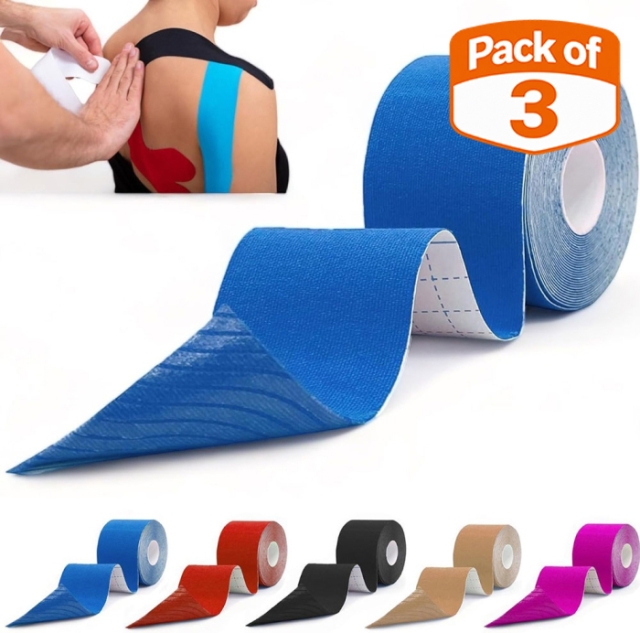
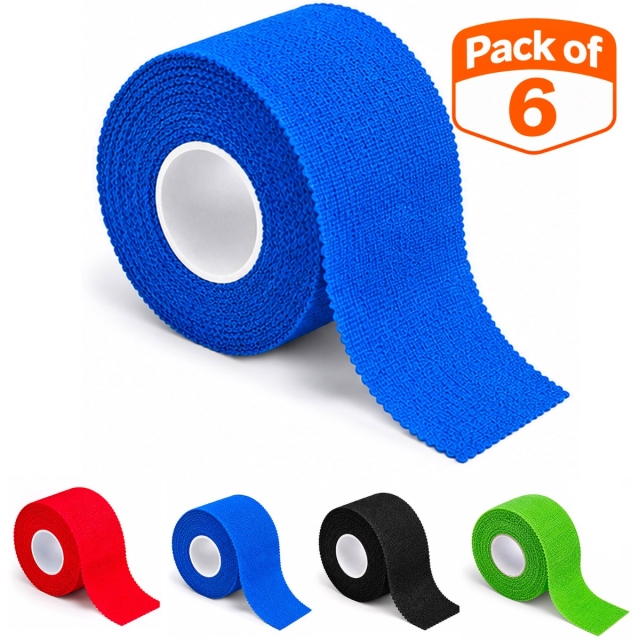
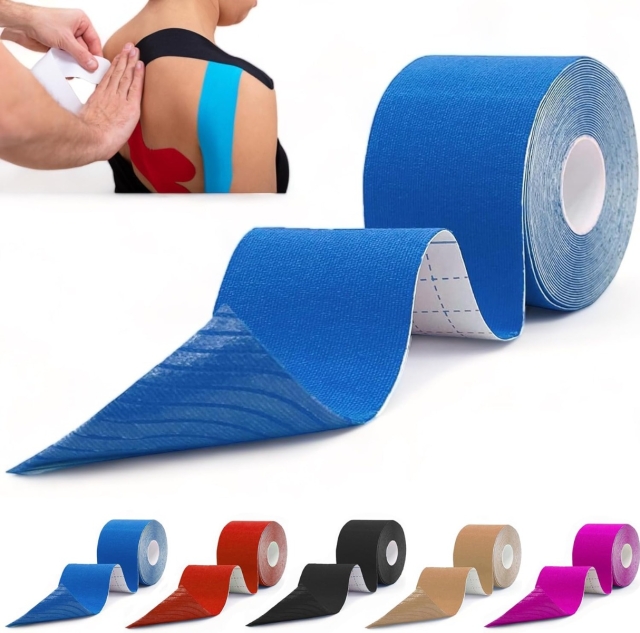
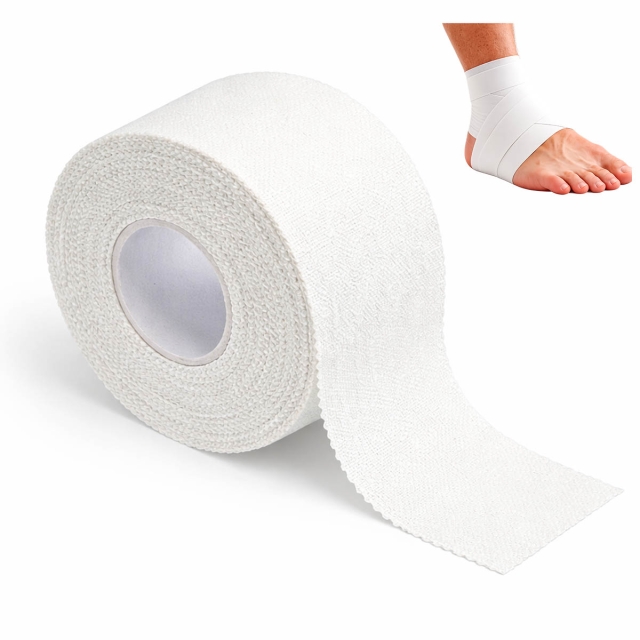
Use three pieces of elastic tape approximately 5 cm (2 inches) wide, scissors and a mirror or helper. A suitable option is Physioworx kinesiology tape. You can also compare the Algeos kinesiology tape range. Check your tape's own instructions because adhesives and stretch characteristics vary.
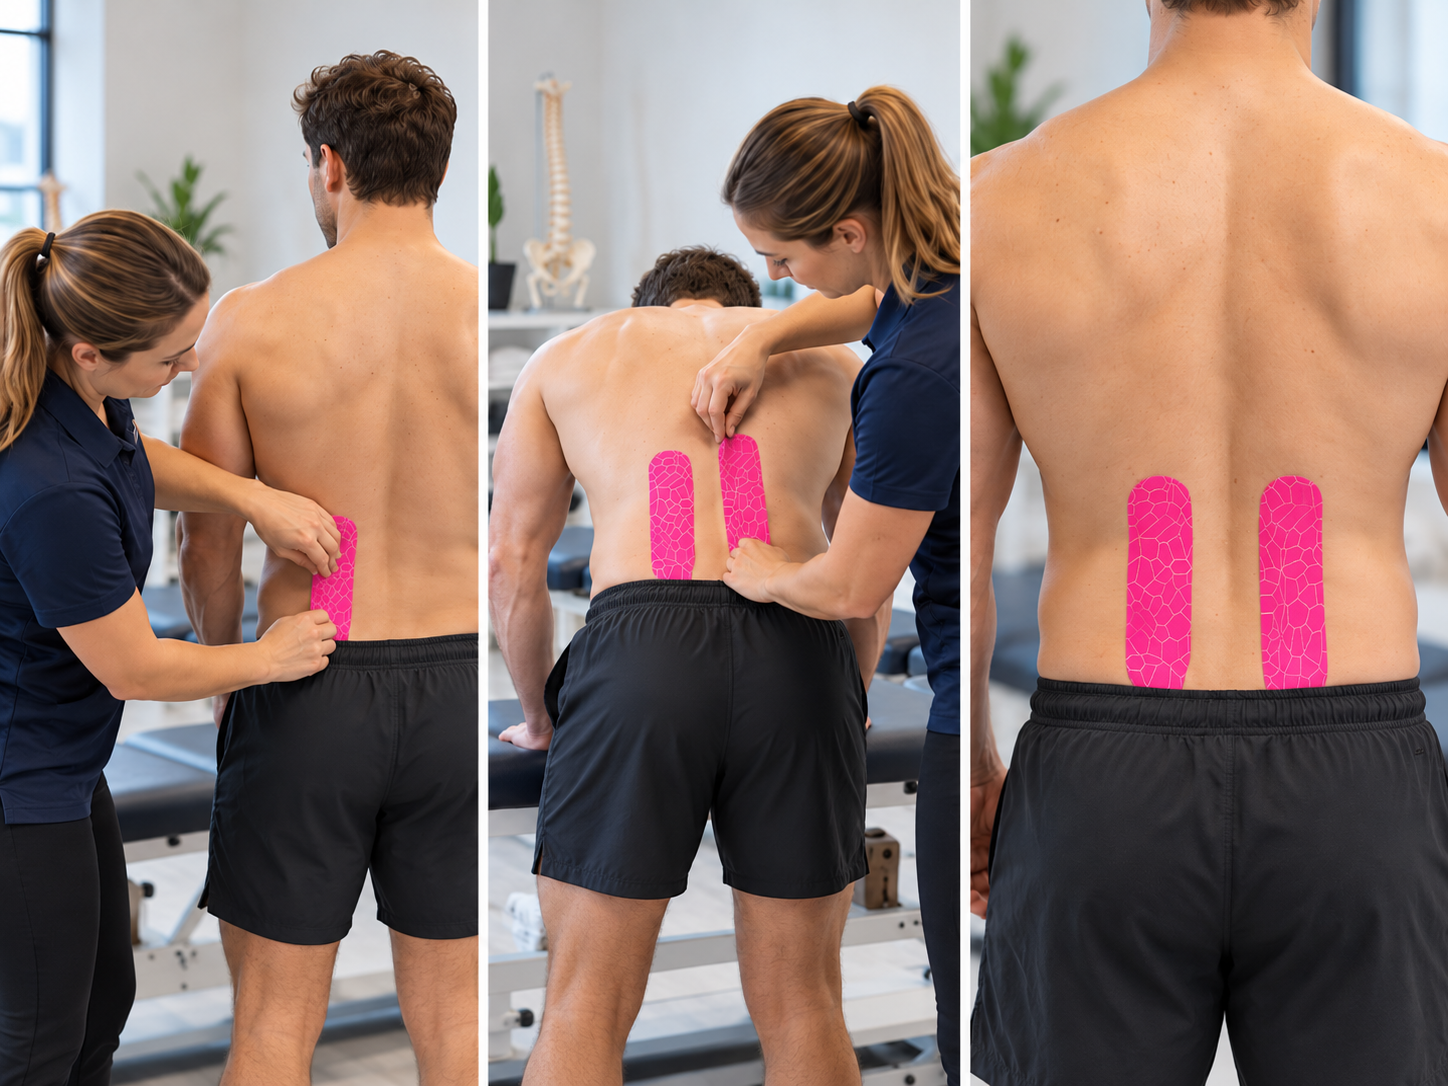
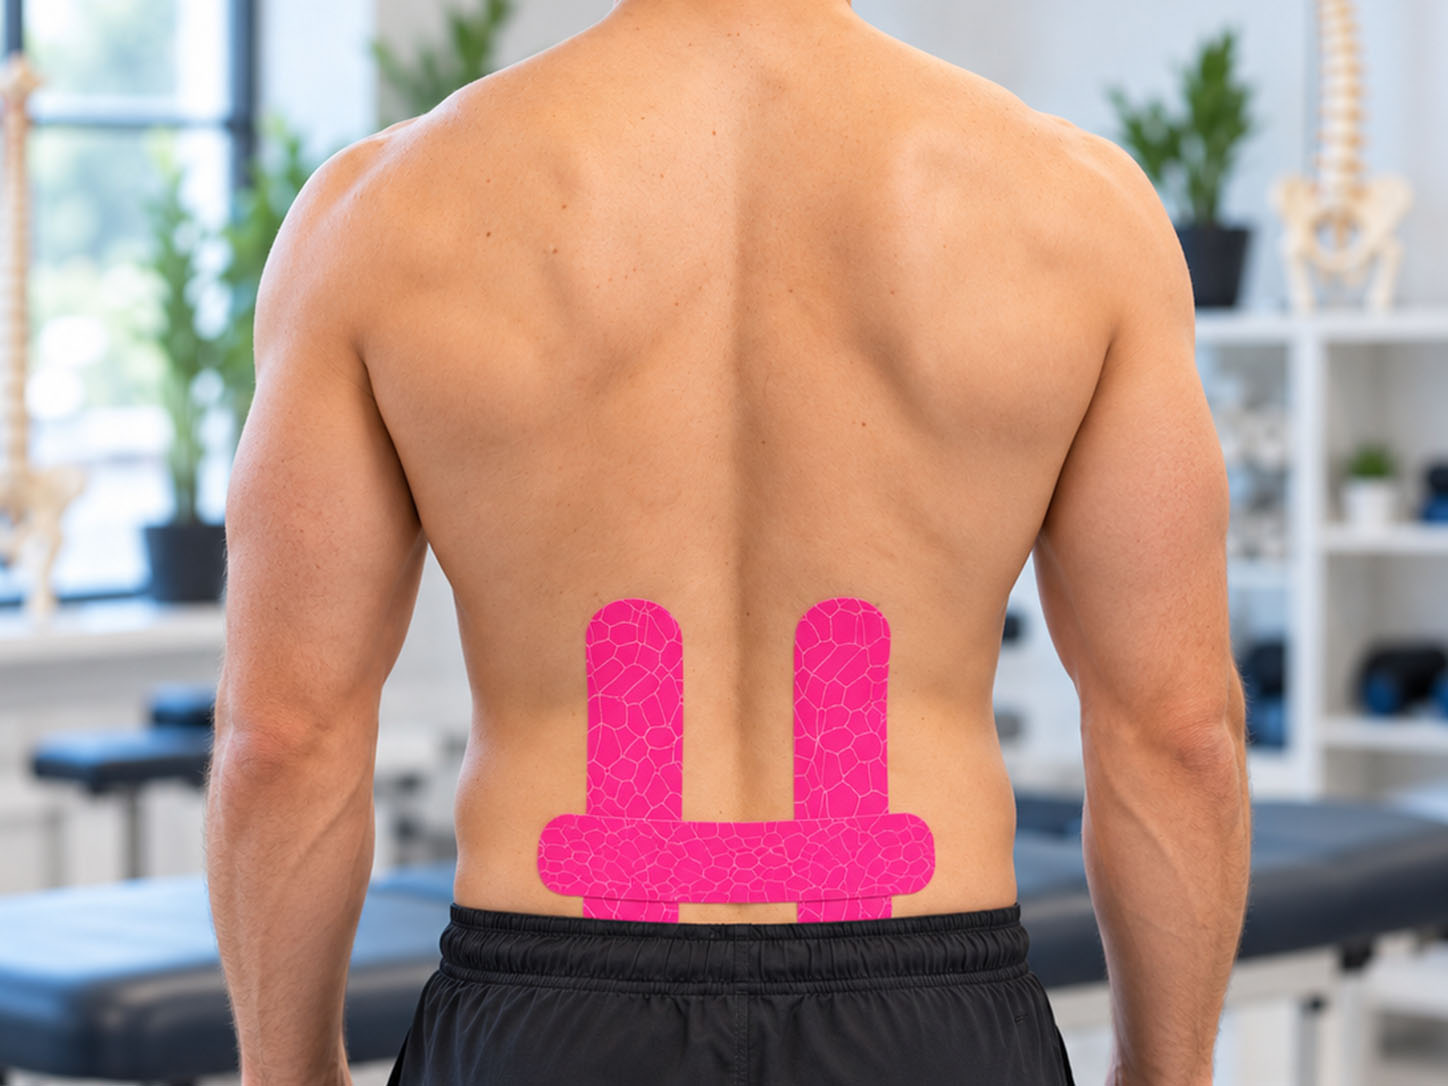
Two vertical strips sit alongside the spine. The horizontal strip crosses the painful region, forming an H shape.
How to apply KT tape to the lower back in five steps
-
Prepare clean, dry skin
Wash away oils, creams and sweat, then dry thoroughly. If suitable for your skin, an alcohol wipe can remove remaining residue. Trim heavy hair rather than shaving immediately before application. Cut three strips and round the corners so clothing is less likely to catch the edges. Do not tape over recently applied heat rubs.
-
Measure the two upright strips
With the person standing comfortably, measure one strip for each side of the lumbar spine. Begin near the beltline, around the level of the posterior pelvic dimples then measure upwards towards the mid-back. Leave space between the strips so they follow the muscles rather than covering the bony centre of the spine.
-
Apply the vertical strips without pulling
Ask the person to bend forward gently at the hips, only as far as comfortable. Fix the bottom 5 cm of the first strip beside the spine with no stretch. Lay the tape upwards with little or no extra tension and finish with an unstretched top anchor. Repeat on the opposite side. Smooth out folds without dragging the skin.
-
Add the horizontal cross strip
Find the broadest area of muscular discomfort, not simply the lowest point of the back. Tear the paper backing in the middle and position the centre across this area. Some H-pattern instructions use about 50-60% of available tape stretch through the middle section. Keep the outer 5 cm at each end completely unstretched and preferably anchored to bare skin. Use less tension if the manufacturer advises it or the skin feels pulled.
-
Activate the adhesive and test comfort
Rub the strips gently with your palm to warm the adhesive and secure the edges. Return to standing slowly. Try a small bend, a brief walk and sitting down. The tape should feel flexible, not restrictive, hot or sharply tight. Remove and reapply with less tension if it causes discomfort.
The anchor rule: Stretch belongs in the working section of the tape, never in the final 5 cm at either end. Following this rule helps reduce peeling and avoidable skin tension.
Aftercare: keeping the tape comfortable
Check the skin after the first 20-30 minutes and periodically thereafter. Itching, burning, blisters or increasing pain mean the tape should come off. Many products are water-resistant, although wear time depends on the brand and individual skin tolerance. Pat dry after a shower and follow the manufacturer's recommended wear period.
To remove the tape, use warm water or a suitable oil if needed. Peel it back slowly while supporting the skin instead of pulling upwards. Assess whether normal movements feel easier, unchanged or worse. Taping is worth continuing only when it adds comfort without distracting from graded activity, strengthening and clinical advice.
What users say and how to judge the result
Feedback about kinesiology tape is individual. Some wearers value the gentle reminder to move confidently while others notice little change or dislike the adhesive sensation. These impressions are not evidence that the tape has corrected posture or repaired tissue.
Rather than relying on testimonials, note a simple before-and-after measure: rate discomfort from 0 to 10 during the same everyday task, such as standing from a chair. Compare the result after application and again the next day. If the benefit is small or absent, there is no reason to keep taping.
Kinesiology tape versus other back-pain strategies
| Approach | Main purpose | Practical limitation |
|---|---|---|
| H-pattern kinesiology tape | Flexible skin contact and possible short-term comfort | Mixed evidence; can irritate skin |
| Rigid sports tape | Restricts selected movements for specific sporting uses | Less comfortable across a moving lumbar region |
| Exercise and gradual activity | Builds capacity, confidence and everyday function | Requires individual progression and consistency |
| Physiotherapy assessment | Identifies relevant factors and guides rehabilitation | Needs a tailored plan rather than a universal technique |
For product differences, see the Algeos guide to physio tapes.
Frequently asked questions
Does kinesiology tape actually work for lower back pain?
It may provide short-term pain relief for some people but results are mixed. Evidence does not support using tape instead of exercise, assessment or appropriate treatment.
How much tension should I use?
Use little or no stretch on the two vertical strips. Some H-pattern approaches use approximately 50-60% of the tape's available stretch through the centre of the horizontal strip. Leave all anchors unstretched.
How long can I leave the tape on?
Follow the specific tape manufacturer's instructions and your skin's response. Many tapes can remain on for several days but remove them sooner if irritation occurs.
Can I shower with kinesiology tape on?
Many kinesiology tapes resist water. Check the product label, pat the tape dry after showering and avoid vigorous rubbing.
Can I apply lower back tape by myself?
It is possible with a mirror but another person usually makes placement and skin checks easier. Do not twist painfully to reach the area.
When should I avoid taping and seek help?
Avoid taping broken or irritated skin and seek assessment for concerning symptoms. New bladder or bowel changes, saddle numbness or symptoms affecting both legs require emergency assessment.
References and research sources
- Inostroza-Quiroz J et al. (2026). Effectiveness of kinesio tape in people with low back pain: systematic review and meta-analysis. European Journal of Physical and Rehabilitation Medicine.
- Parreira PCS et al. (2014). Trial comparing skin-convolution taping with sham taping. Journal of Physiotherapy.
- NICE guideline NG59. Low back pain and sciatica in over 16s: assessment and management.
- NHS. Back pain: self-care and warning symptoms.
- KT Tape. Preparation, anchor placement and removal instructions.
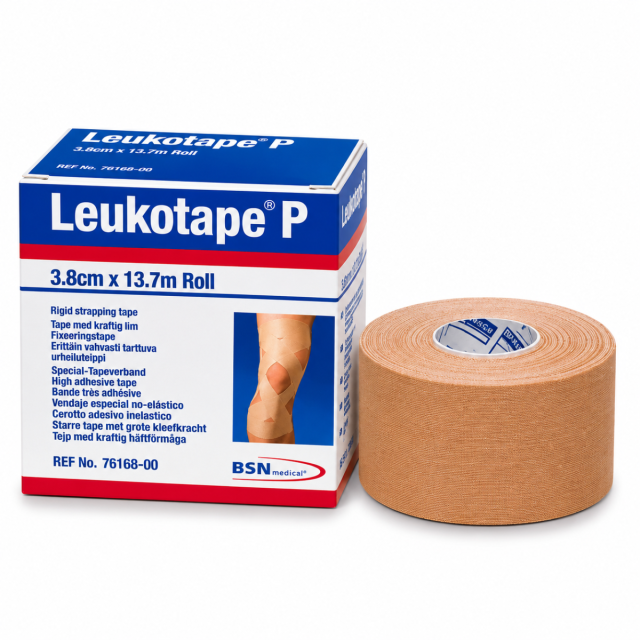


Sold: 13.7 m
Incl. VAT Exl. VAT