


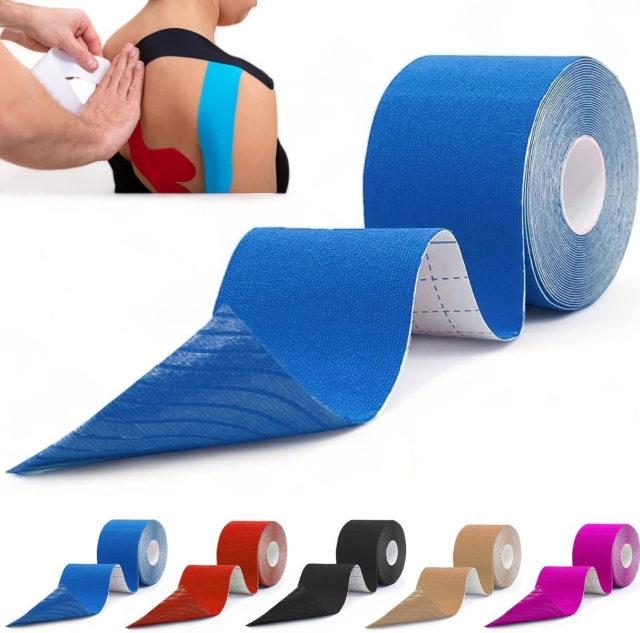
Relieving Plantar Fasciitis with KT Tape: A Step-by-Step Guide
Plantar fasciitis is a common yet painful condition affecting the connective tissue running along the bottom of the foot. It often leads to sharp, stabbing pain, especially in the morning or after prolonged rest. If you’re dealing with this discomfort, kinesiology taping or KT taping, can provide a practical and effective solution.
Widely used by healthcare professionals, athletes, and fitness enthusiasts, KT tape helps support the plantar fascia, reduces strain, and promotes healing - allowing you to stay active while managing your pain.
In this guide, we’ll introduce a simple and proven four-strip taping technique tailored for plantar fasciitis. This method involves strategically placing three long strips of tape along the foot and a shorter strip supporting the heel.
The taping works by stabilising the arch, improving circulation, and relieving tension on the plantar fascia. With just a few materials and a few minutes, you can take a significant step toward reducing discomfort and getting back on your feet - literally!
How KT Tape Helps with Plantar Fasciitis
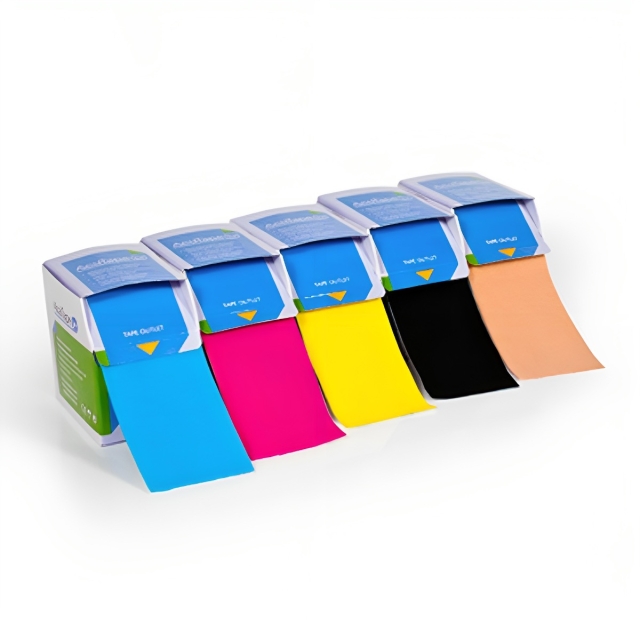
KT tape is a lightweight, elastic therapeutic tape designed to mimic the natural elasticity of the skin. When applied correctly, it offers gentle, constant support to muscles and ligaments without restricting your range of motion.
For plantar fasciitis, the tape alleviates pressure on the plantar fascia by redistributing stress and reducing microtears caused by walking, running, or standing. Additionally, the tape encourages better blood flow, which is essential for healing inflammation and tissue damage.
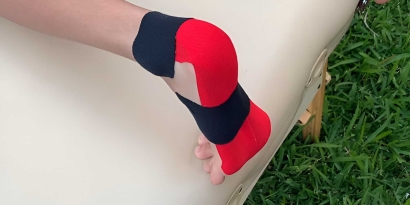
By applying this four-strip method, you’ll target the key areas of the foot most affected by plantar fasciitis. The three long strips align with the natural contours of the foot, providing robust support to the arch, heel, and Achilles tendon.
The shorter strip wraps around the heel to anchor the plantar fascia and prevent overstretching, a common source of pain.
A Beginner-Friendly Taping Technique
The four-strip method is beginner-friendly and does not require professional assistance, making it a convenient option for managing pain at home or on the go. Before applying the tape, it’s essential to prepare the skin properly - ensuring it’s clean, dry, and free of oils or lotions. Once ready, you’ll follow a structured 9-step process to anchor the tape correctly and maximise its benefits.
This taping method includes:
-
Anchoring three long strips from the ball of the foot to the Achilles tendon, supporting the arch and reducing strain on the plantar fascia.
-
Adding a shorter strip around the heel to stabilise the fascia and promote proper alignment.
Each step involves slight stretching of the tape to ensure optimal support without restricting movement. After application, you’ll find the tape adheres comfortably, allowing you to walk and move freely while reducing pain and inflammation.
|
|
|
|
|---|---|---|
|
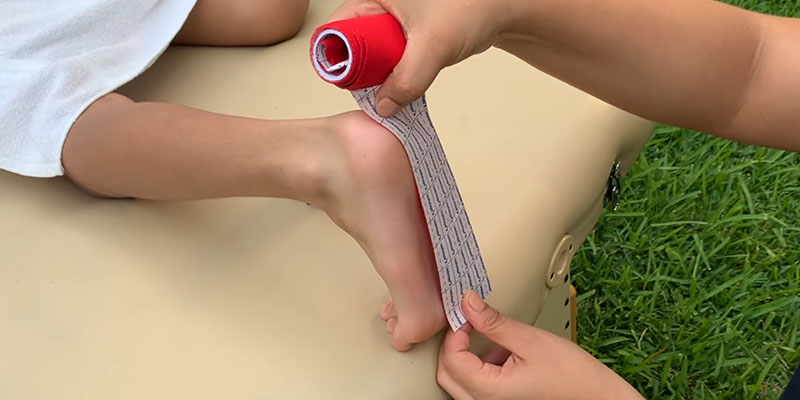
1. Prepare the Skin Clean and dry the foot thoroughly to ensure the tape adheres properly. Avoid using oils or lotions beforehand. |
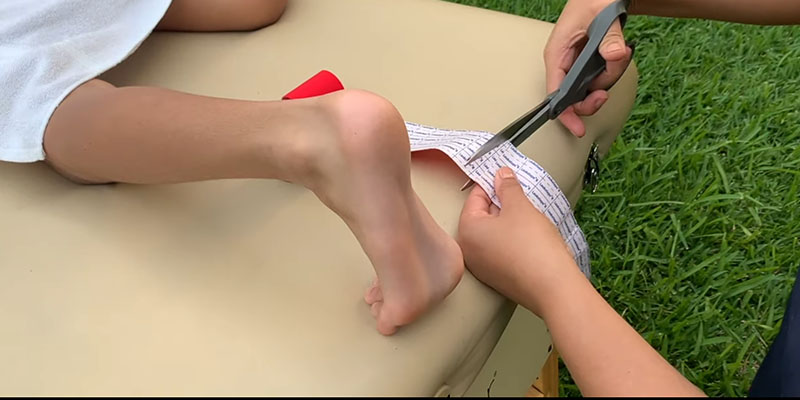
2. Cut and Round the Tape Cut three long strips and one shorter strip. The long strips should extend from the ball of the foot to the Achilles tendon. |
3. Prepare Tape Round the edges to prevent peeling. |
|
|
|
|
|
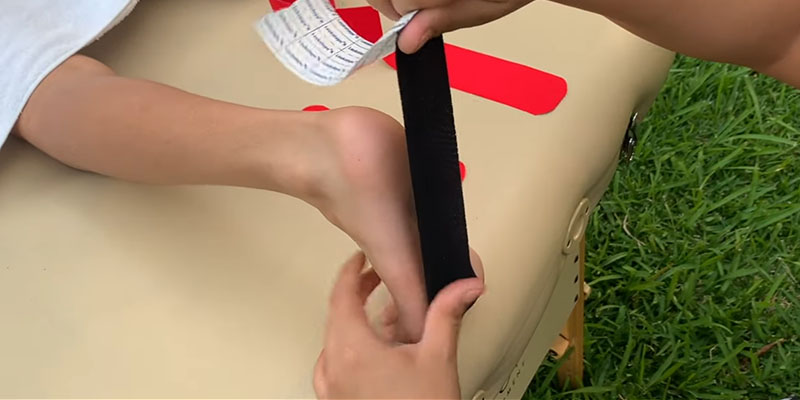
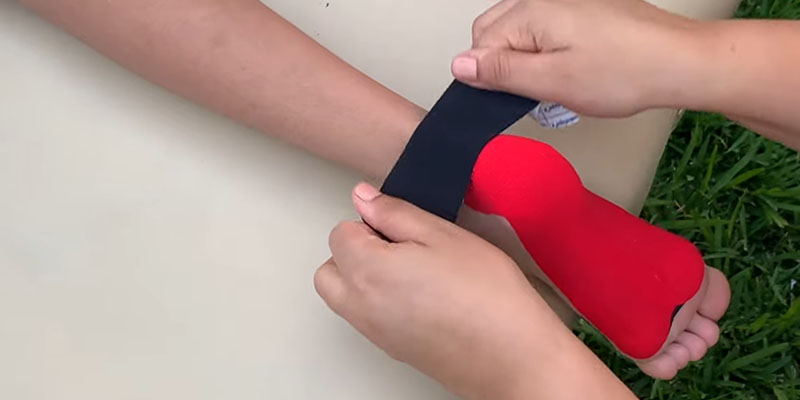
4. Anchor the First Long Strip Place the anchor (2-3 cm with no stretch) of the first long strip under the ball of the foot, just below the toes.
|
5. Stretch and Apply Stretch the tape lightly (about 25%) and guide it down the sole, over the heel, and up along the Achilles tendon. Secure the end without stretch. |
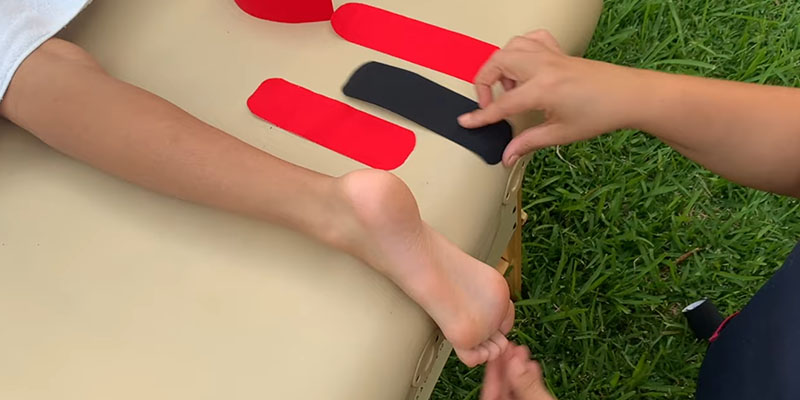
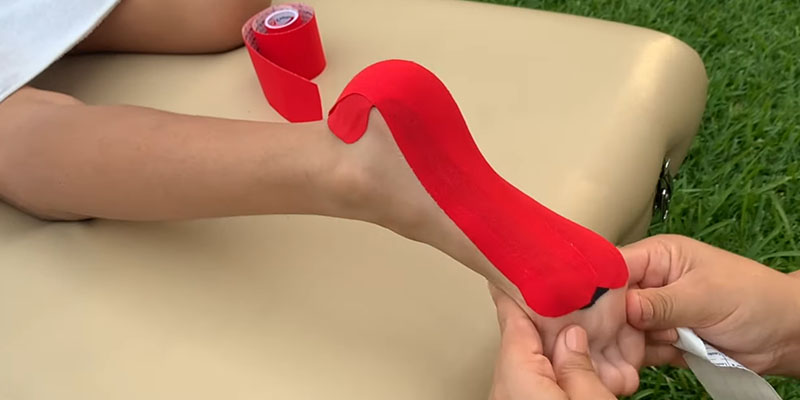
6. Anchor and Apply the Second Long Strip Place the second long strip parallel to the first, slightly overlapping it. Apply it in the same manner, stretching lightly as it follows the arch, heel, and Achilles. |
|
|
|
|
|
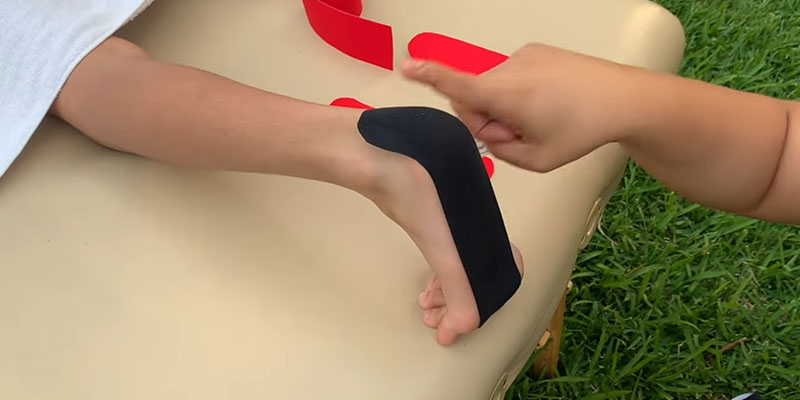
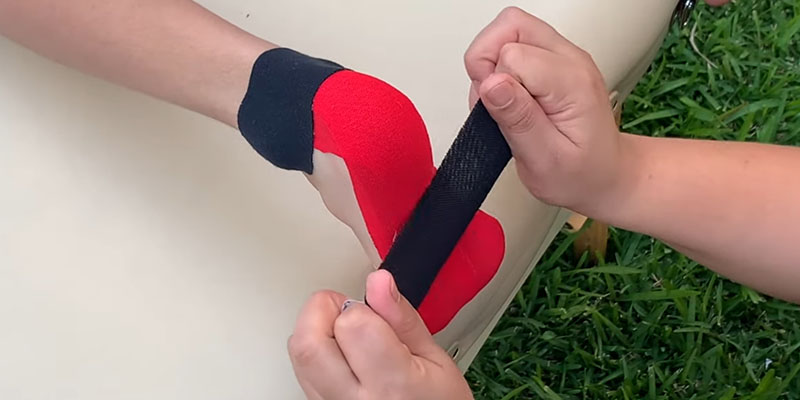
7. Anchor and Apply the Third Long Strip Attach the third strip to the outer edge of the foot, anchoring near the ball. Stretch it lightly as you guide it down the side of the foot, over the heel, and up to the Achilles. |
8. Apply the Short Heel Strip Anchor the shorter strip on one side of the heel. Stretch it slightly (about 25%) as you wrap it around the heel to the opposite side. |
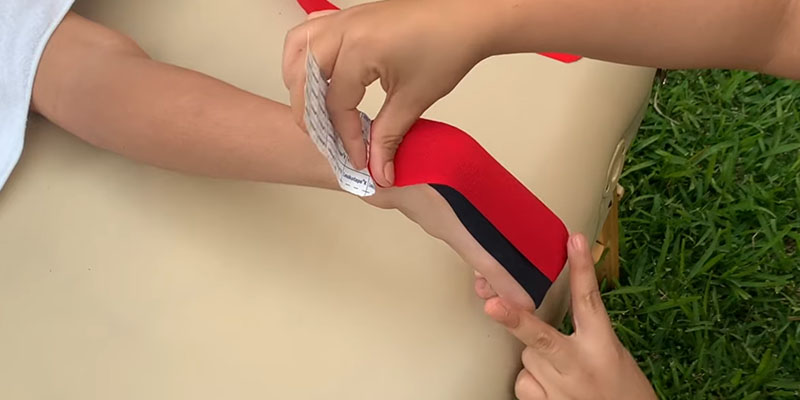
9. Secure Plantar Fascia Apply to final piece of tape across plantar fascia to lateral of foot. Rub the tape gently to activate the adhesive, ensuring it sticks firmly and conforms to the contours of the foot. |
How long should you keep KT tape on?
Most kinesiology tapes are designed to stay in place for a few days, but in real-world use the ideal wear time depends on skin sensitivity, activity level, sweating, and how the foot is washed/dried. The goal is comfortable support without skin problems.
- Check the skin daily: if you notice itching, blistering, increasing redness or any broken skin, remove the tape and let the skin settle before reapplying.
- Avoid overstretching: using too much tension can irritate skin and can also reduce comfort. Your 25% stretch cue is a sensible starting point for many people.
- Remove gently: peel slowly back on itself rather than pulling straight up. Removing after a shower (or using an appropriate adhesive remover) can make it more comfortable.
- Don’t tape over broken skin: especially important for anyone with fragile skin, diabetes-related skin changes, or poor circulation.
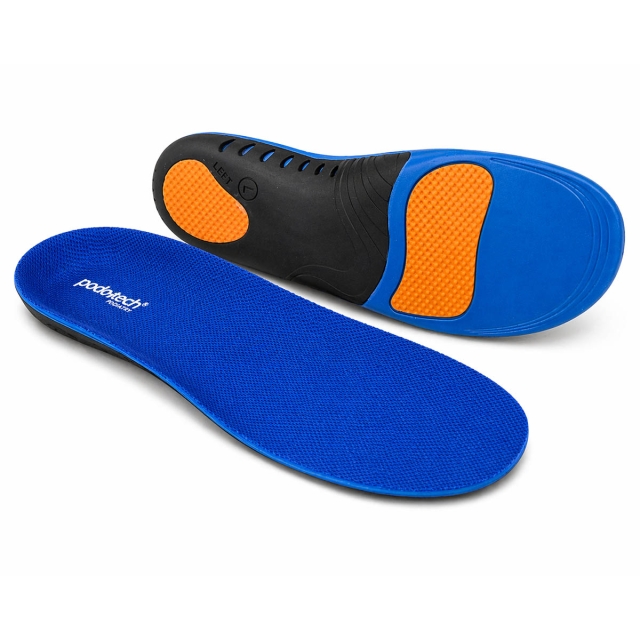
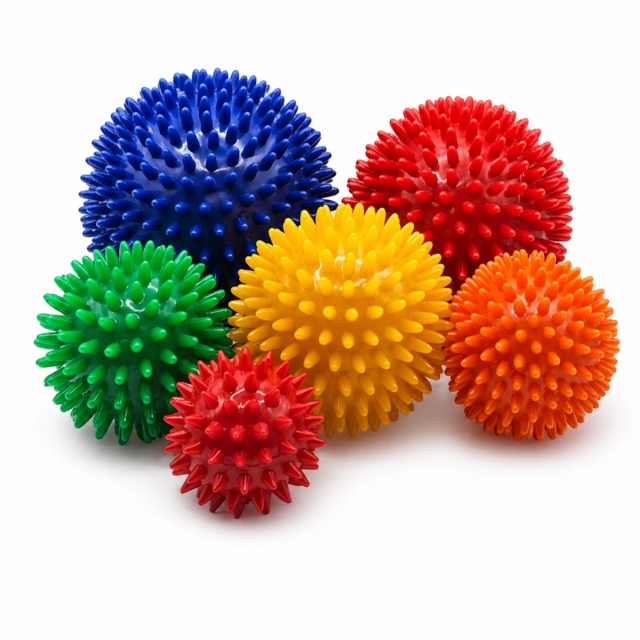
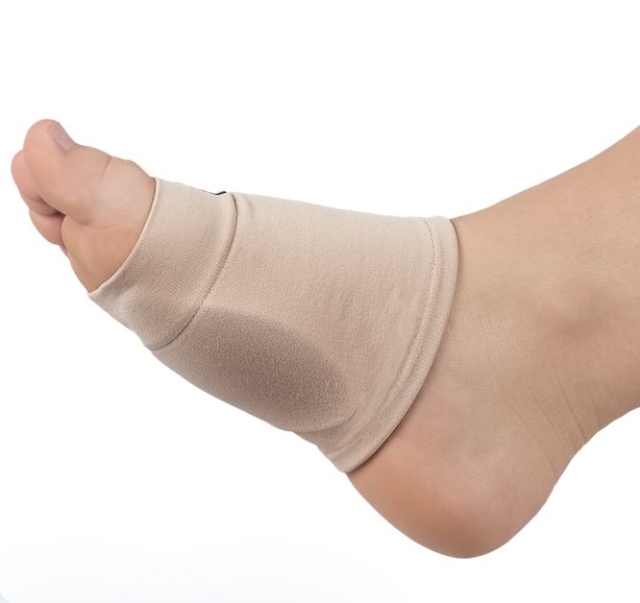
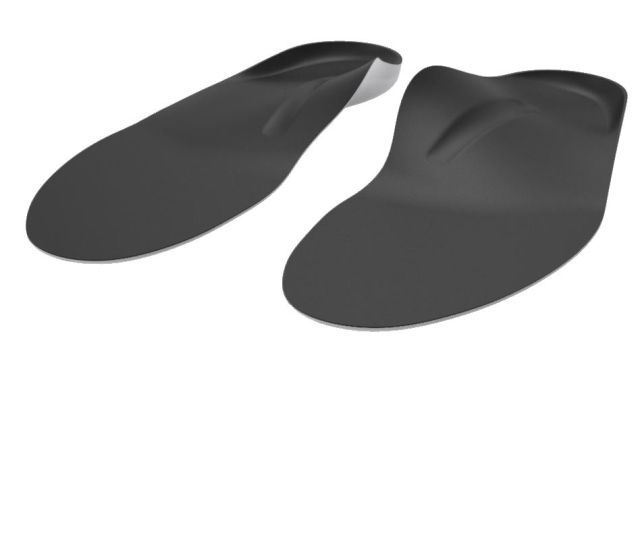
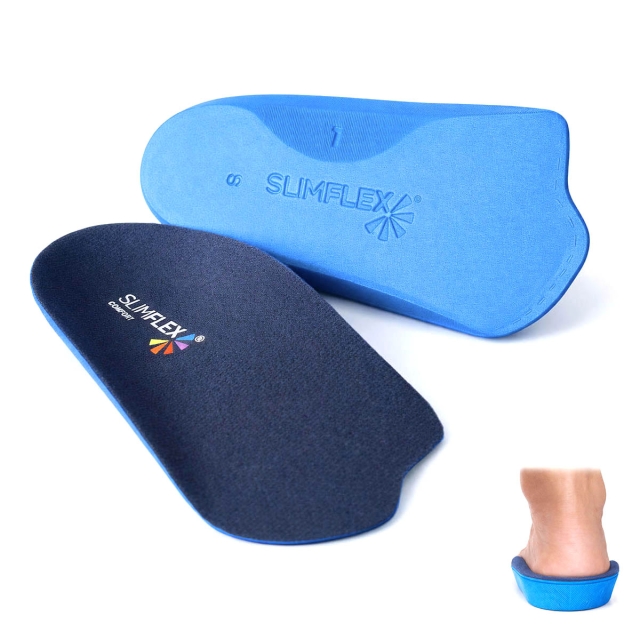
For people who need support but struggle with skin sensitivity, it can be worth trialling different materials and combining strategies (for example, a heel cup or orthotic insole during the day, and taping only on higher-load days):
Gel heel cups (shock absorption and pressure distribution)
Plantar fasciitis insoles (arch support and heel pain relief)
What else should you pair with taping for better outcomes?
A practical, evidence-informed approach for many patients is to combine taping (short-term symptom control) with one or two other treatment options.
Options that commonly pair well with taping:
- Orthoses / insoles: help spread pressure and reduce strain during walking and long standing. Explore the broader category here: Orthotic insoles and foot orthotics.
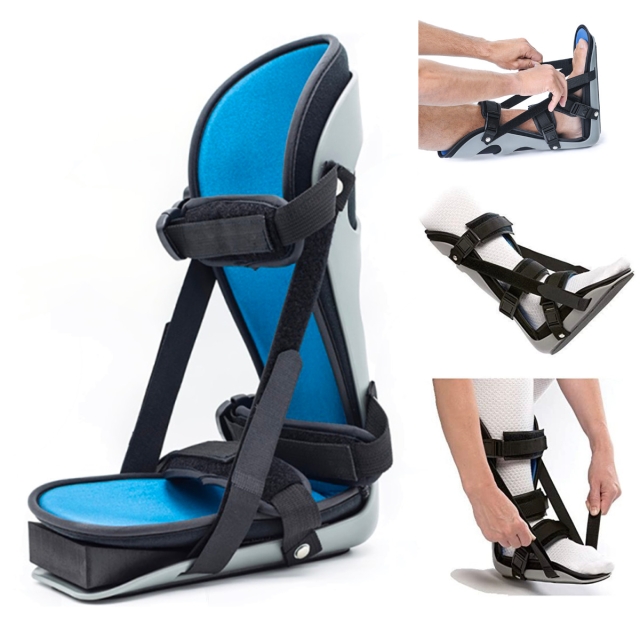
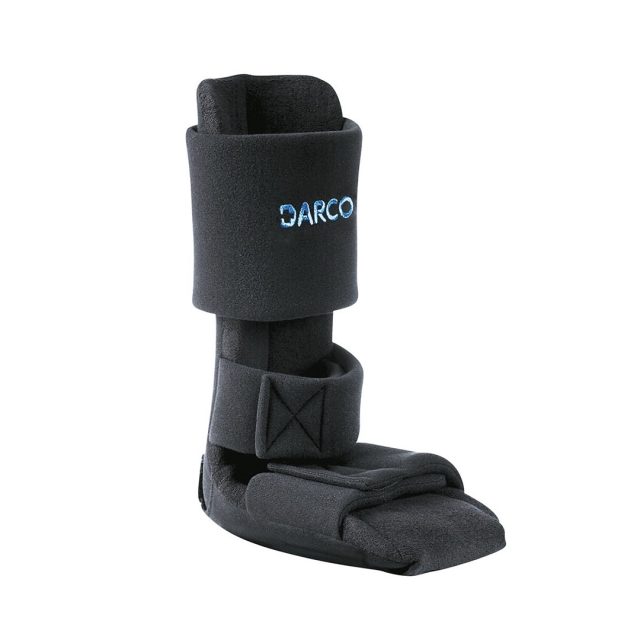
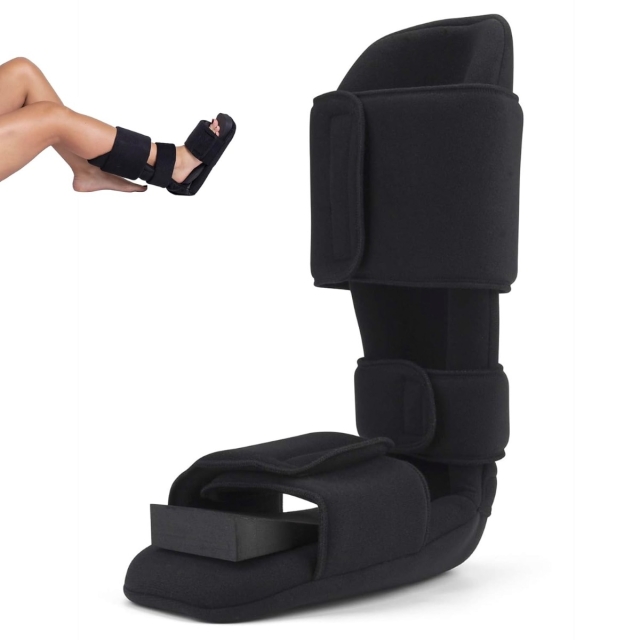
- Night splints: often used when morning pain is a dominant symptom (they hold the ankle in a gentler stretched position overnight). See: Night splints for plantar fasciitis.
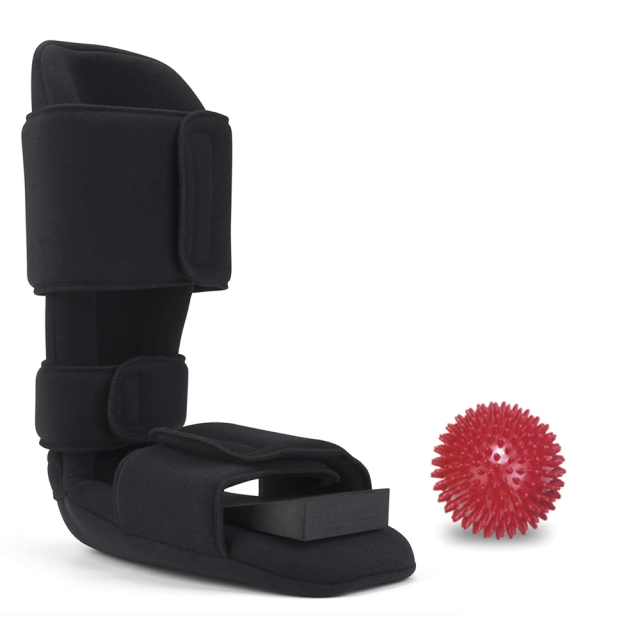
- Home therapy aids: massage tools and stretching aids can help patients stay consistent between appointments. See: Home therapy aids for plantar fasciitis.
If symptoms persist despite a solid home plan, or pain is limiting normal daily function, it’s sensible to seek assessment from a qualified clinician (podiatrist, physiotherapist, or GP) to confirm diagnosis and rule out other causes of heel pain.
Recent Evidence on PF Taping
In more recent evidence summaries and clinical guidance, taping is increasingly positioned as a short-term pain and function support that works best when combined with a wider plan (rather than as a standalone fix).
For many people, reducing discomfort for a few days can make it easier to keep walking comfortably and stick with strengthening and stretching - which are still the long-term drivers of recovery.
Taping can reduce pain and offload strain, but it doesn’t replace strengthening or address broader biomechanical contributors by itself.
References
- JOSPT Clinical Practice Guideline (2023): Heel Pain – Plantar Fasciitis
- NICE CKS: Plantar fasciitis management (orthoses, night splints, taping, escalation options)
- British Journal of Sports Medicine (2021): Best practice guide for managing plantar heel pain
- MDPI (2024): Kinesiotape vs Low-Dye tape (acute phase comparisons)
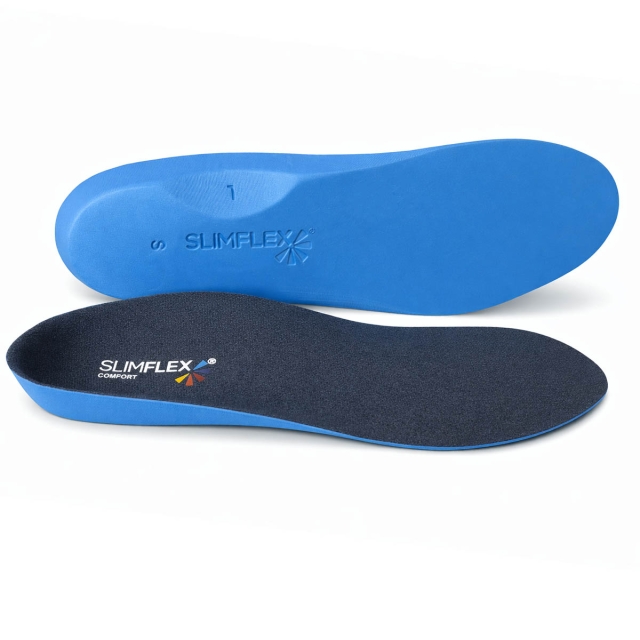


Sold: Sold per Pair
Incl. VAT Exl. VAT