


A practical, evidence-informed guide for podiatrists comparing instrument categories, steel grades, ergonomics, sterilisation compatibility, clinical performance, cost-of-ownership, and maintenance - plus a quick decision matrix and FAQ.
Why your instrument choices matter
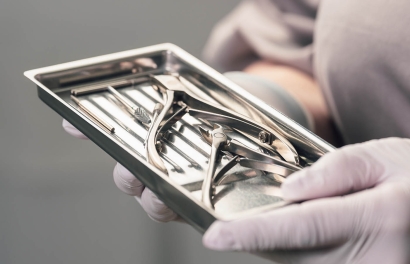
Clinical results, practitioner comfort, infection control, and long-term costs all hinge on the quality and suitability of your instruments. The right kit delivers precise cutting, stable grip, predictable handling and resilience to repeated sterilisation. Conversely, bargain instruments can blunt early, corrode or misalign - adding risk, wasted time and replacement costs.
Core instrument categories (what belongs in a modern kit)
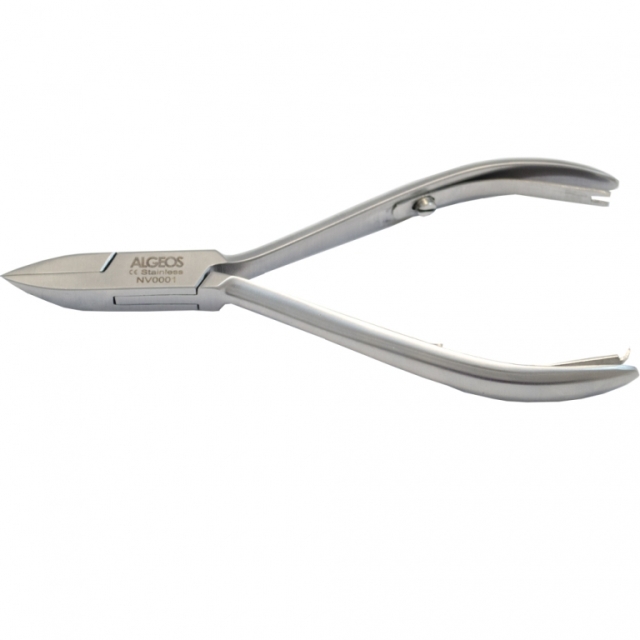
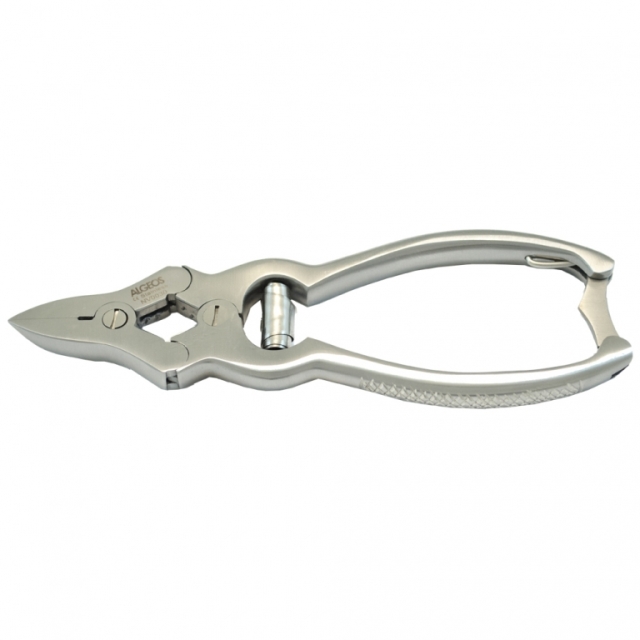
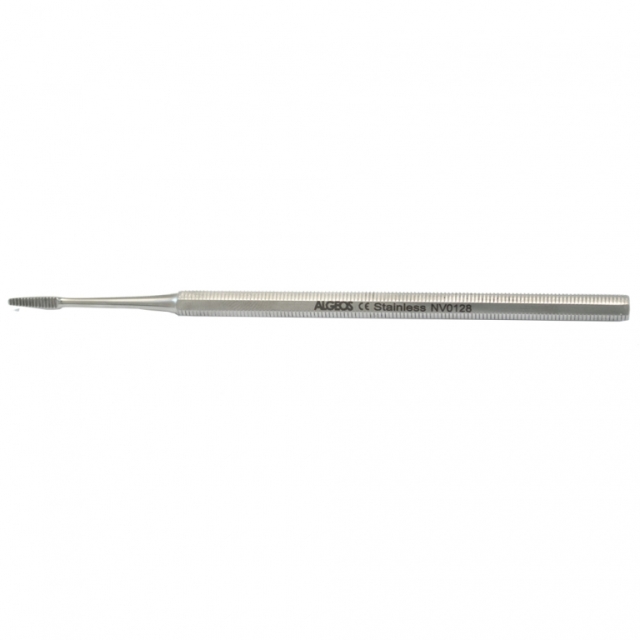
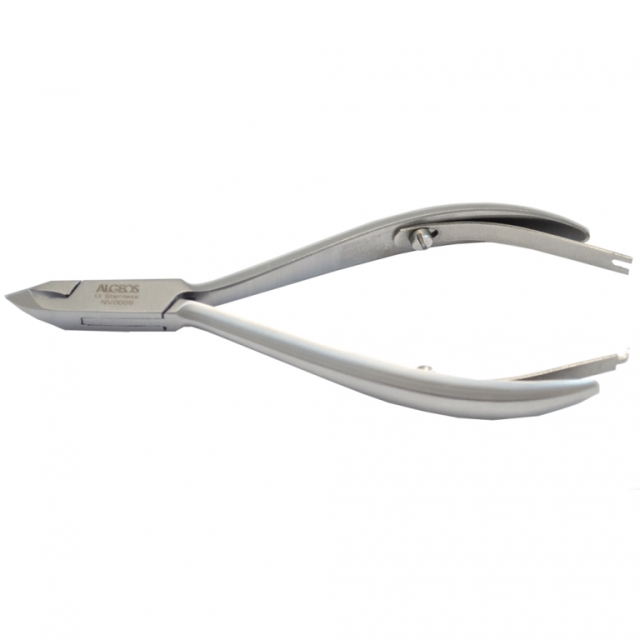
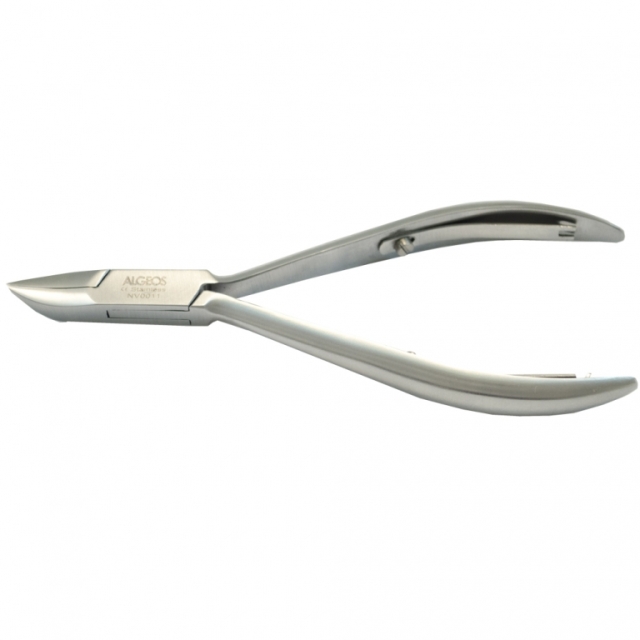
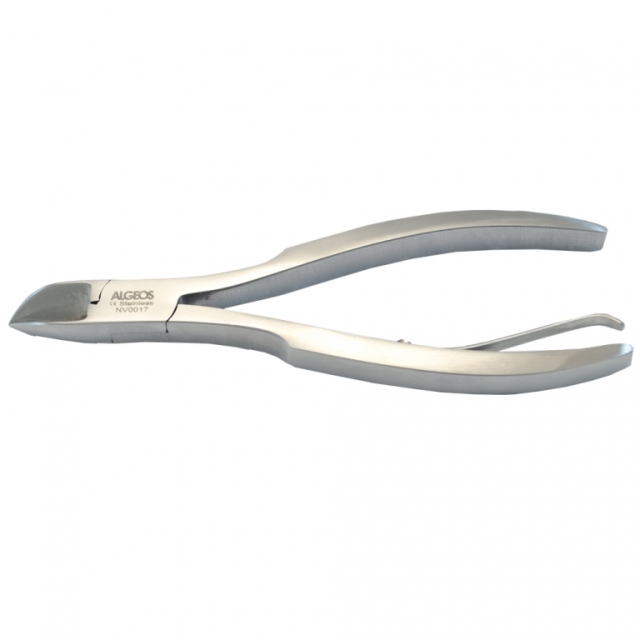
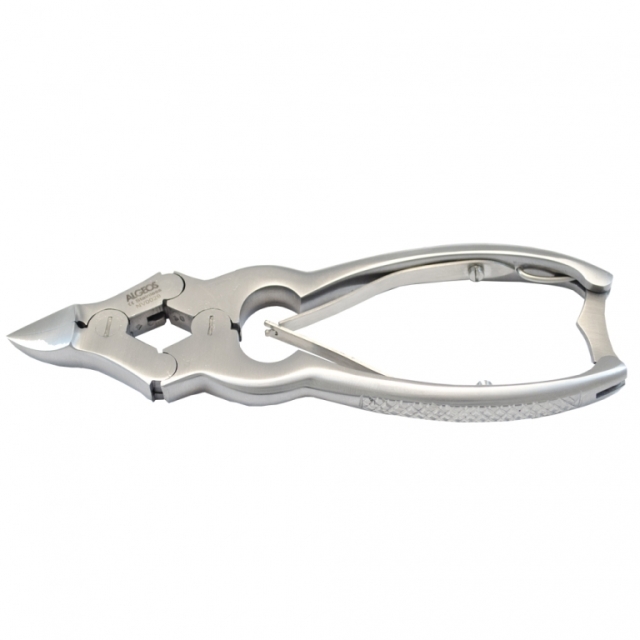
- Nail care: Nail nippers (straight, curved, concave), ingrown nippers, cuticle nippers/scissors, nail files/rasps, drills and burrs for reduction.
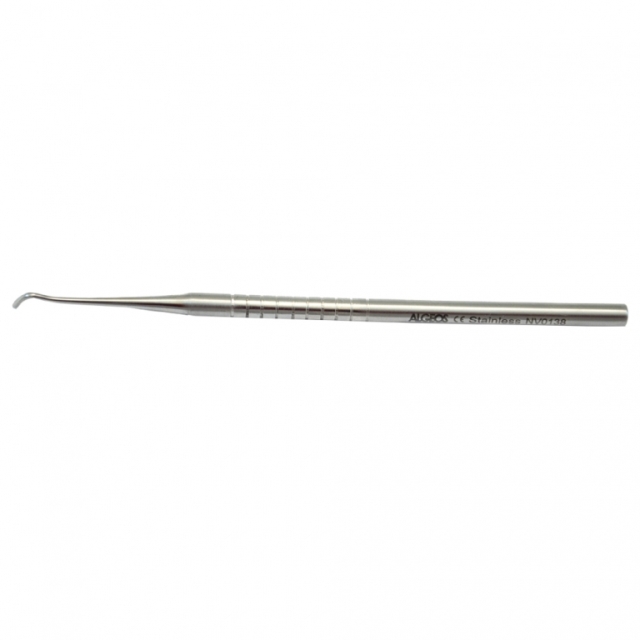
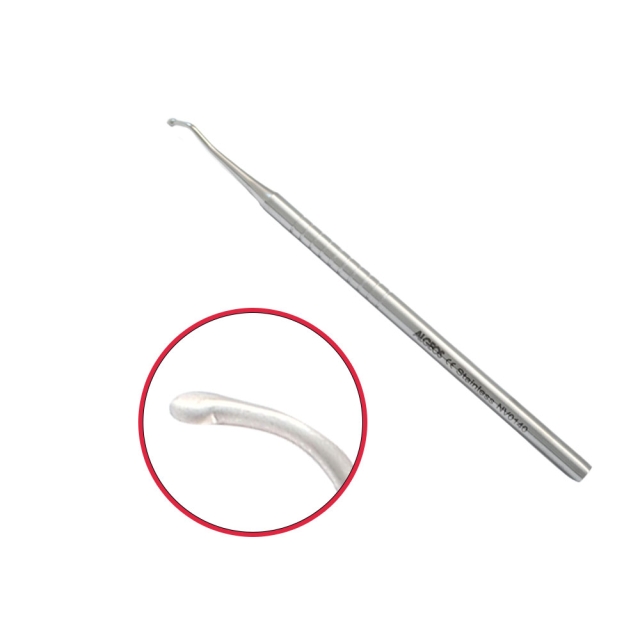
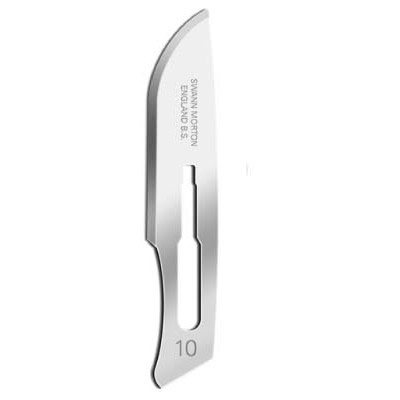
- Debridement: Scalpel handles (No. 4), blades (No. 10, No. 15 and podiatry variants), dermal curettes, foot dressers/rasps.
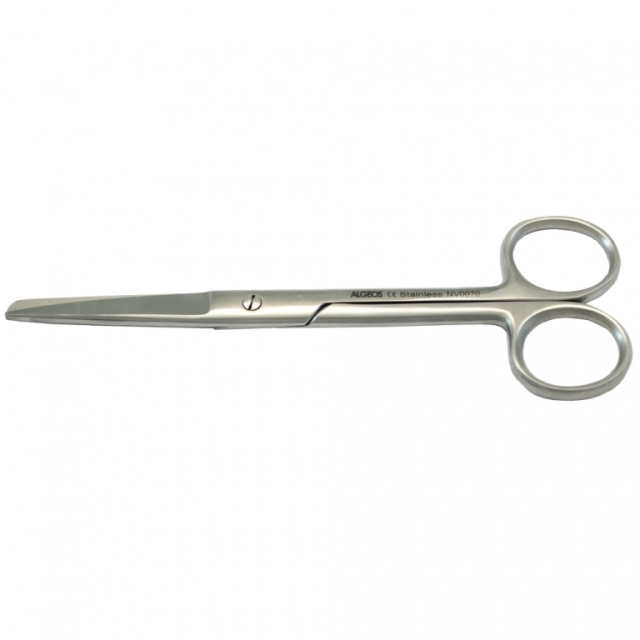
- Soft-tissue & surgical: Tissue and dressing forceps, haemostats/clamps, Iris/Metzenbaum/Lister scissors, probes and lifters.
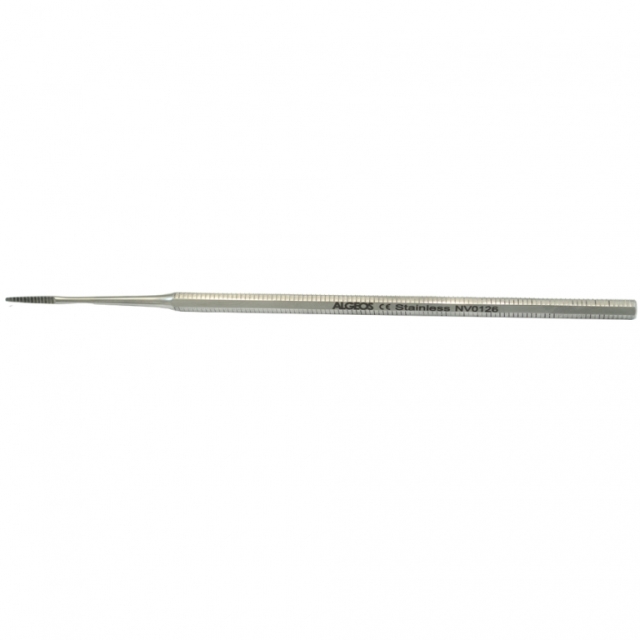
- Diagnostics: Nail bed probes, calliper/ruler, monofilaments, tuning fork and basic neurovascular tools.
Four pillars of selection
1) Value for money (total cost of ownership)
Price alone misleads. Consider lifetime value: edge retention, resistance to corrosion/pitting, frequency and cost of sharpening, downtime, and replacement intervals. Premium instruments often pay for themselves via longer service life and fewer failures.
Build a budget that prioritises high-use, high-impact tools (nippers, scalpel handles, forceps) and economise on low-stress items where appropriate.
2) Durability (materials and build)
The steel and construction methods largely determine longevity.
- Stainless steel grades: For cutting edges, 400-series (e.g., 420/440) offers hardenability and edge retention. For corrosion resistance (handles, non-cutting parts), 300-series (e.g., 304/316L) performs well. Mixed use is common: hardened jaws with corrosion-resistant bodies.
- Heat treatment: Proper hardening and tempering yield sharp, tough cutting edges. Insist on instruments with validated manufacturing and QC.
- Joints & springs: Box-locks and double-springs should be stainless and well-seated; sloppy joints cause misalignment and premature wear.
- Surface finish: Fine polishing and passivation improve corrosion resistance and ease of cleaning.
3) Sterilisation compatibility
Instruments must tolerate repeated steam sterilisation at 121–134 °C. Look for “autoclavable” confirmation, compatible lubricants (“instrument milk”), and avoidance of dissimilar metals that encourage galvanic corrosion.
Power-tool accessories and burrs should explicitly state sterilisation parameters. Single-use instruments simplify reprocessing but increase per-procedure cost - many clinics adopt a hybrid model.
4) Clinical performance and ergonomics
Performance is a blend of precise working ends and comfortable, controlled handling across long clinics.
- Ergonomic handles: Contoured or textured grips reduce slip and pinch force.
- Spring action: Quality double-springs on nippers reduce hand strain and improve cadence.
- Balance & weight: Lighter, well-balanced tools reduce wrist fatigue and enhance precision.
- Form factor: Straight versus angled jaws/tips to reach sulci and borders without compromising line of sight.

Instrument-by-instrument guidance
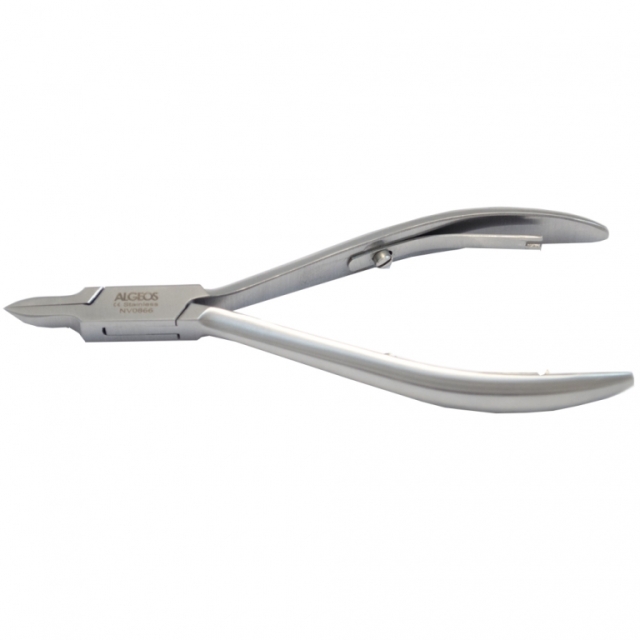
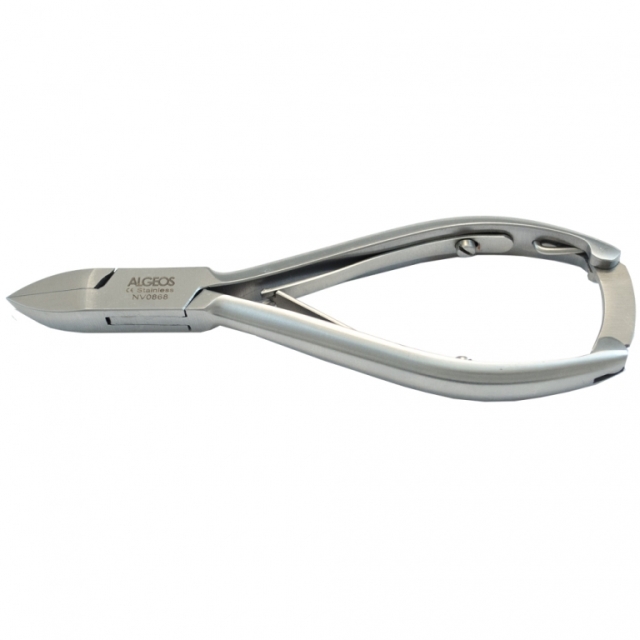
Nail nippers (general, ingrown, concave)
Select jaw geometry for the task: straight or slightly curved for general reduction; fine, slim jaws with offset or anvil profiles for ingrown edges; concave for thicker, mycotic nails. Prefer hardened 420/440 steel cutting edges with smooth box-locks and dependable double-spring action.
Test closure alignment (no light gap), smooth hinge travel, and bite consistency. Consider silicone sleeves or knurled handles for extra control.
Scalpel handles & blades
Choose compatible handles (No. 3 for small blades, No. 4 for larger) with positive blade retention and non-slip flats. Blades should be sterile, keen, and consistent—keep a range (#10/#15 and podiatry patterns). Single-use handles can reduce RSI and reprocessing time in high-throughput clinics.
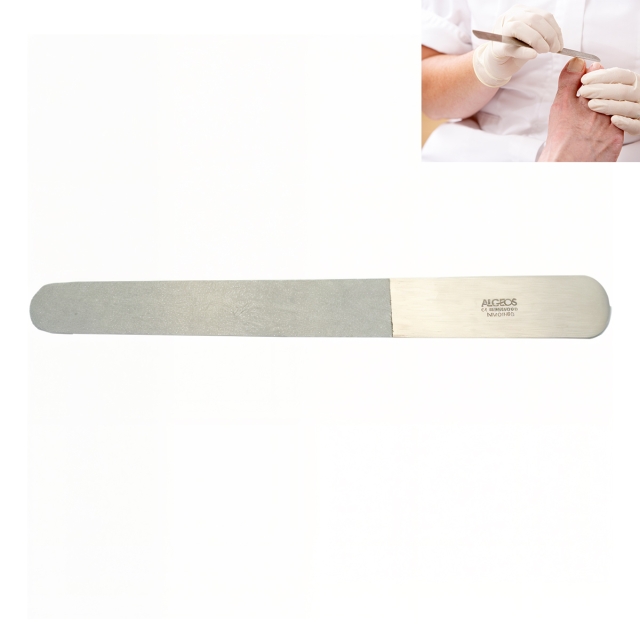
Curettes & dressers
Double-ended curettes (round, oval, spoon) in 1.5–5 mm sizes cover most lesions and nail bed work. Look for rigid, non-flexing shafts, crisp edges, and good tactile feedback. Foot dressers/rasps should be stainless (or diamond-coated) with evenly distributed abrasive and easy decontamination.
Forceps, haemostats, and scissors
Tissue forceps require precise serrations without burring; haemostats need positive ratchets that release reliably. Iris/Metzenbaum scissors should present true tips and even blade contact along the length. Verify that cutting micro-fibres doesn’t snag—an indicator of edge finish.
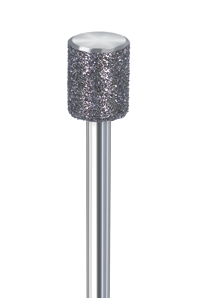
Drills & burrs
Maintain a selection spanning steel (value, control), carbide (aggressive reduction), and diamond (fine finishing). Stock cones, barrels, buds, and discs across coarse to fine grades. Confirm shank compatibility, RPM limits, and sterilisation guidance. Use extraction and eye/respiratory protection where dust is generated.
Quick decision matrix
| Instrument | Primary Task | Best Material/Spec | Ergonomic Features | Sterilisation Notes | Value Tips |
|---|---|---|---|---|---|
| Nail nippers | General & ingrown reduction | 420/440 cutting jaws - fine box-lock | Double-spring - knurled/contoured grip | Autoclavable - lubricate hinge |
Invest premium - high utilisation |
| Scalpel handle + blades | Debridement, callus/corn paring | Stainless handle - sterile blades (No 10 or No. 15) | Non-slip flats - secure blade fit | Handles autoclavable - blades single-use | Use dispenser packs - mix sizes |
| Curettes | Lesion and nail bed work | Rigid stainless - crisp spoon edges | Balanced shaft - tactile feedback | Ultrasonic clean - steam sterilise | Buy set of sizes - mid-premium |
| Forceps/haemostats | Tissue handling, haemostasis | Corrosion-resistant stainless | Positive ratchet - precise serrations | Avoid residue in teeth/ratchets | Premium pays off in reliability |
| Scissors (Iris/Metz/Lister) | Soft tissue, dressings, suture | Hardened blades - true tips | Smooth action - light, balanced | Protect tips - case storage | Plan periodic sharpening |
| Drill burrs (steel/carbide/diamond) | Reduction & finishing | Match grit to task - validated shanks | N/A | Check RPM/steam compatibility | Hold mixed set - replace on wear |
Brand and sourcing considerations
- Reputation & certification: Prefer medical suppliers with ISO 13485 processes and CE/UKCA or FDA compliance information. Transparent steel grade, hardness, and sterilisation data are green flags.
- Range depth: Brands that offer multiple jaw profiles, sizes, and spare parts (springs, screws) simplify standardisation.
- Service & warranty: Access to sharpening, calibration, and fair warranties reduces lifecycle cost.
- Trials: Where possible, order one of each candidate instrument to assess grip, balance, and cutting feel in your own workflow.
Set-building strategy (new vs. established clinics)
Newly qualified or new clinics
Start with a robust core: premium general nipper, ingrown nipper, No. 3 handle with mixed blades, two sizes of curette, tissue forceps, Iris scissors, Lister scissors, haemostat, dresser/rasp, and a compact burr set. Add duplicates of high-turnover tools to maintain throughput during reprocessing. Standardise where feasible to minimise training and inventory complexity.
Established practices
Audit annually. Replace any instrument with persistent misalignment, corrosion, or unreliable action. Upgrade high-use items first to ergonomic variants (double-spring nippers, contoured forceps). Expand burr assortments to reduce chairside time and improve finish quality. Consider hybrid workflows (mixing reusable and single-use) to match patient risk categories and clinic tempo.
Maintenance that protects your investment
- Immediate pre-clean Rinse/soak promptly to prevent bioburden drying - separate sharp tips with guards.
- Ultrasonic clean Use compatible enzymatic detergents - open hinges/ratchets so solution reaches joints.
- Dry and lubricate Dry thoroughly - apply instrument milk to joints and springs to prevent stiffness and rust.
- Inspect & protect Check edge integrity, jaw alignment, ratchet function; store in trays/cases to avoid knocks.
- Sterilise correctly Follow manufacturer parameters (time/temp) - document cycles - use tip guards as needed.
- Sharpen & rotate Schedule periodic sharpening for nippers/scissors - rotate sets to balance wear and maintain clinic flow.
Bottom line
Choose instruments on the strength of their steel, construction, ergonomics, and sterilisation resilience - then judge value over the full life cycle. Prioritise premium quality for high-use items, standardise where possible, and protect your investment with disciplined maintenance. The result: safer care, smoother clinics and better long-term economics.


Sold: Each
Incl. VAT Exl. VAT