


Cork material sheets are widely used in fabrication, repairs, padding, product assembly and specialist healthcare applications because they are lightweight, compressible and easy to adapt. When handled correctly, cork can be cut cleanly, bonded securely and finished neatly without losing the properties that make it so useful.
This guide explains how to cut, bond, shape, paint, fix together, die cut, smooth and maintain cork sheet materials in a way that is practical for workshops, clinics and home users.
Definition box
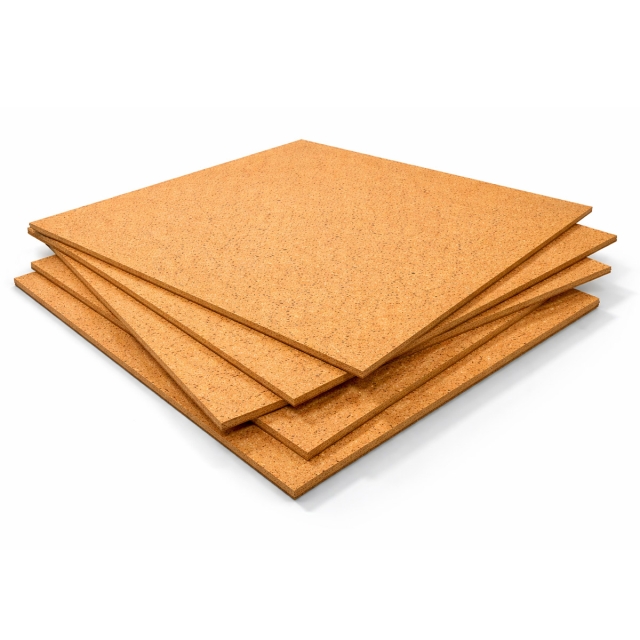
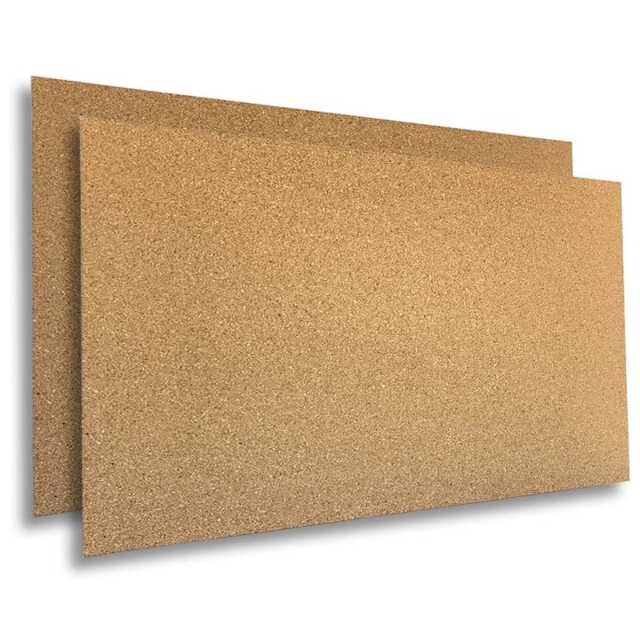
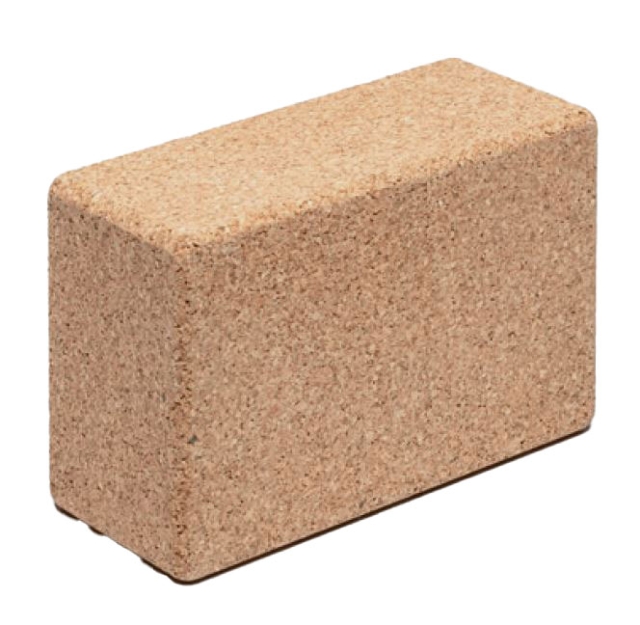
Cork material sheets are flexible or semi-rigid sheet materials made from natural cork granules or cork composites bound into usable thicknesses for fabrication, lining, insulation, grip, protection and orthotic or workshop applications.
Common properties: lightweight, shock-absorbing, easy to trim, naturally textured and compatible with many contact adhesives and finishing methods.
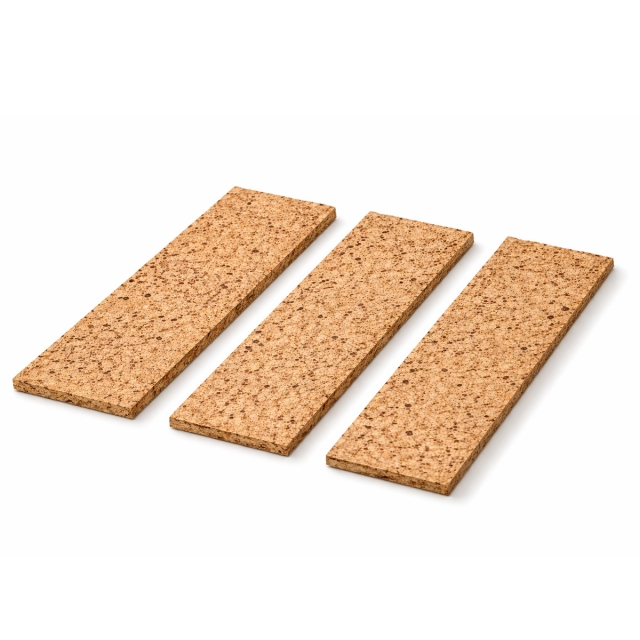
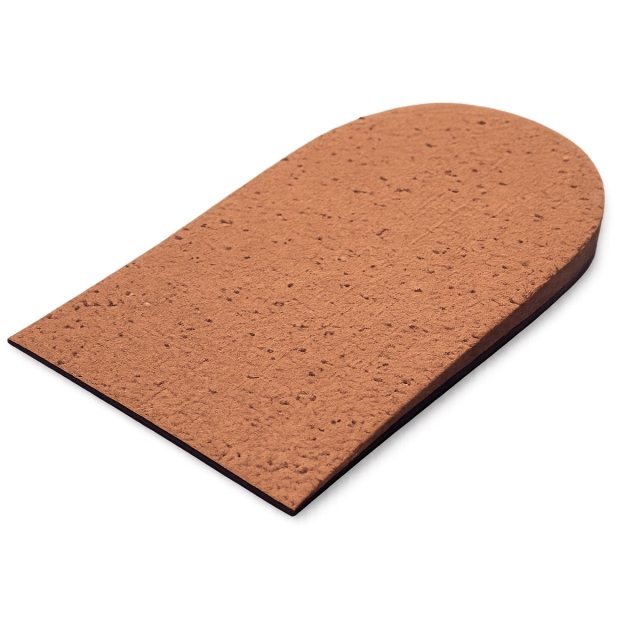
Typical uses: insoles, orthotic build-ups, workshop lining, anti-vibration layers, padding, gaskets, display work and general repairs.
How it works and why it matters
Cork works well because it combines compressibility with structure. It can absorb minor impact, conform slightly to shape and provide a more forgiving interface than many dense sheet materials. In orthotic fabrication and footwear modification, this balance helps technicians create layers that are supportive without being overly hard.
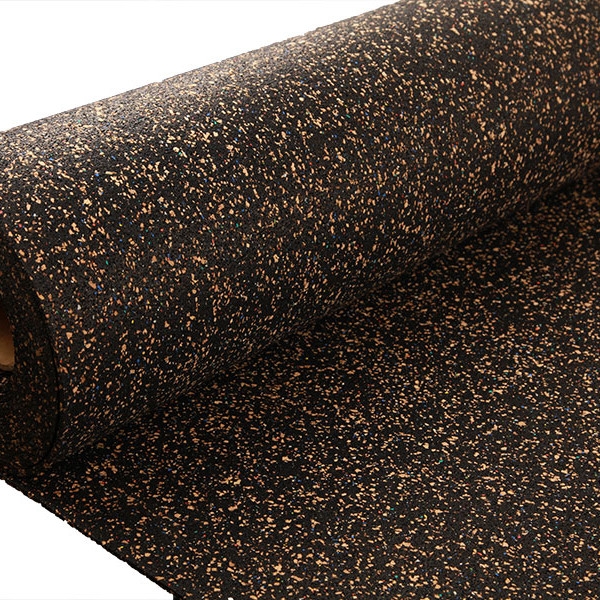
In workshop use, the same qualities make cork useful for lining, spacing and vibration control.
Good technique matters because cork can tear, crumble or delaminate if the wrong blade, adhesive or finishing method is used. Dust control is also important when sanding or shaping any sheet material.
The Health and Safety Executive recommends controlling airborne dust with suitable extraction or other control measures where dust-generating tasks are carried out, especially during sanding and trimming operations.
Workflow
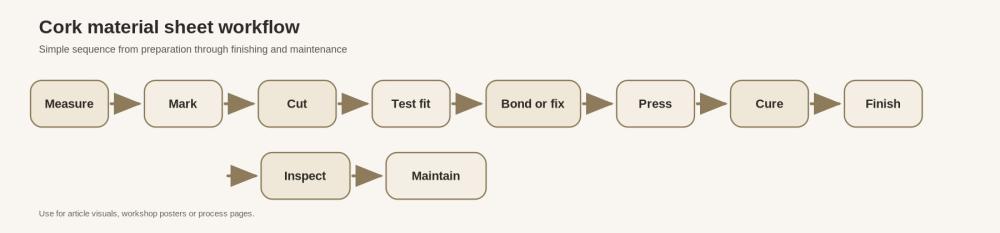
This sequence keeps waste low and makes it easier to correct fit or alignment before permanent bonding.
Best method by task
| Task | Best approach | What to watch for |
|---|---|---|
| Cutting | Use a sharp craft knife, utility knife or band knife for thicker stock | Dull blades drag and tear the surface |
| Bonding | Use a suitable contact adhesive or compatible workshop adhesive | Uneven coating reduces bond strength |
| Shaping | Trim gradually then sand lightly | Overheating or aggressive sanding can damage edges |
| Painting | Seal first if a smoother painted finish is needed | Unsealed cork absorbs paint unevenly |
| Fixing pieces together | Adhesive first, mechanical support only if needed for the application | Fasteners can split thin cork |
| Die cutting | Use sharp dies and test pressure settings | Blunt dies crush instead of cutting cleanly |
| Smoothing | Use fine abrasive with light pressure | Too much pressure rounds edges unintentionally |
| Maintenance and cure | Allow full adhesive cure and keep finished parts dry and flat | Premature handling weakens the final result |
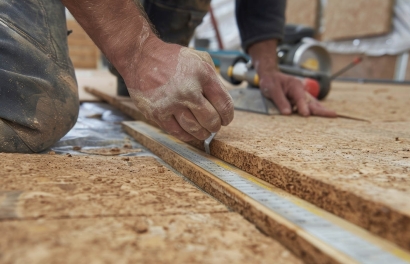
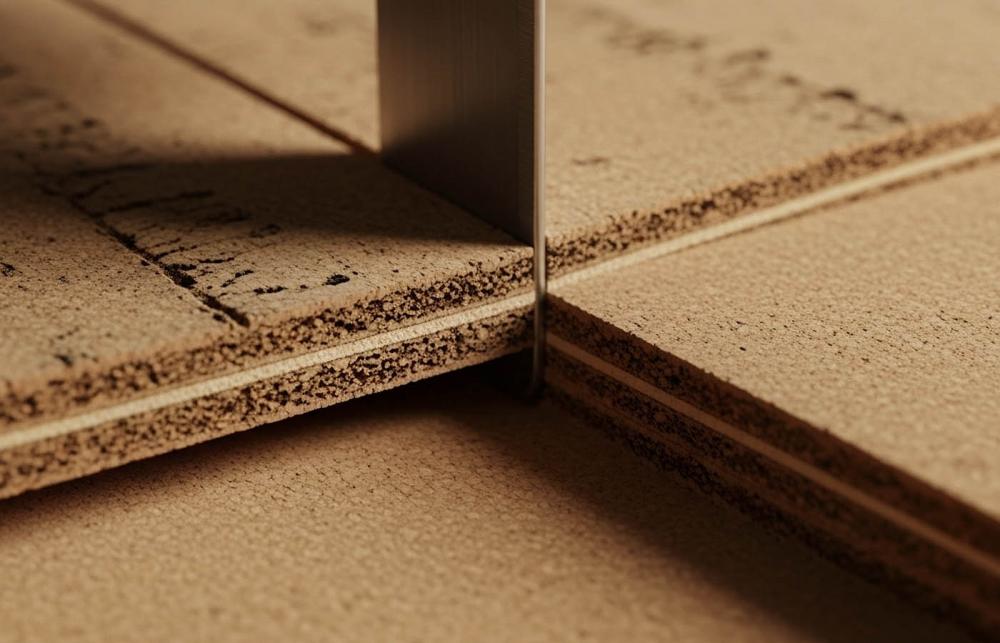
How to cut cork sheets cleanly
The best cuts start with support and blade condition. Place the sheet on a stable cutting surface and mark the line clearly using a fine pencil, silver marker or template. For thin cork, a sharp craft knife is often enough. For thicker cork composites, a utility knife with several light passes gives better control than one deep cut.
Keep the blade perpendicular for straight edges and use a metal ruler where needed. Replace blades early. Cork is forgiving, but ragged edges are usually a sign that the blade has started to drag. For repetitive workshop work, bench-mounted cutting systems or band knives may improve consistency.
How to bond cork sheets
Bonding depends on both the cork and the surface it is being fixed to. Contact adhesive is often used because it forms a flexible bond and works well with porous materials when applied evenly to both surfaces and allowed to reach the correct tack stage before joining.
3M guidance for contact adhesives emphasises surface preparation, even application and firm pressure across the bond line to support performance.
Before applying adhesive, ensure both surfaces are clean, dry and free from dust. If the cork is very porous or rough, a thin first coat may soak in. In some cases, a second thin coat gives a more reliable bond than one heavy coat. Press from the centre outward to reduce trapped air. Use rollers, hand pressure or press equipment depending on the size of the job.
For adhesive options used in orthotic and workshop settings, see Algeos adhesives.
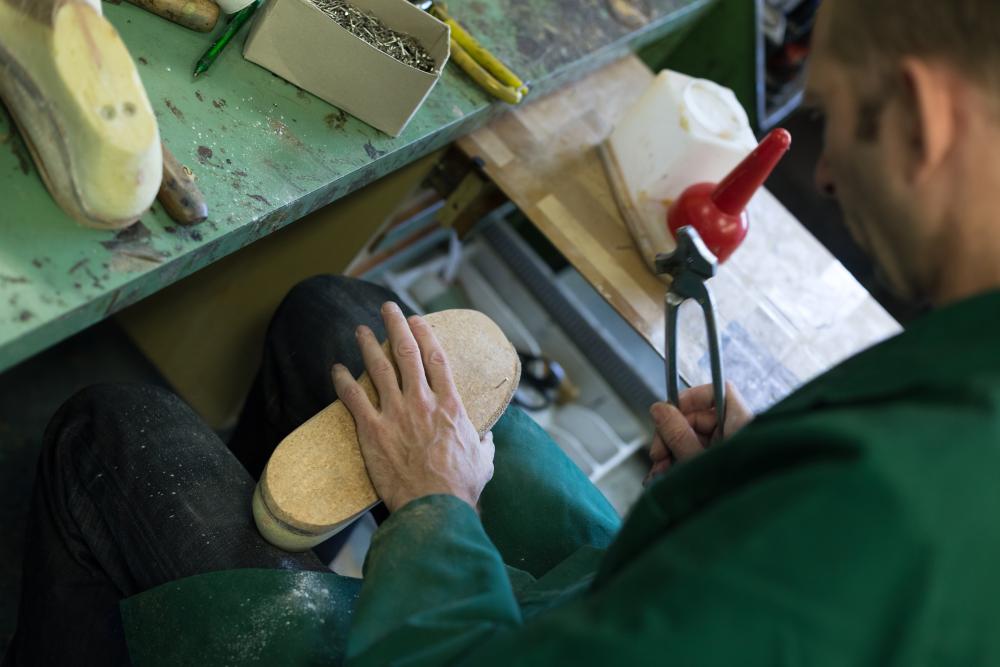
How to shape cork without damaging it
Shaping is best done in stages. First remove the excess with a knife or trimming tool, then refine the contour using a sanding block, abrasive sleeve or light machine sanding if appropriate. Small reductions are easier to control than trying to remove too much at once.
When shaping cork for footwear or orthotic build-ups, check the profile regularly against the intended contour. This reduces asymmetry and helps preserve even thickness. Dust extraction or local ventilation should be used where possible during sanding tasks in line with HSE recommendations on dust control.
Can you paint cork sheets?
Yes, but the finish depends on preparation. Natural cork tends to absorb paint, which can leave a mottled surface if applied directly. If appearance matters, apply a suitable sealer or primer first and allow it to dry fully. Once sealed, cork can usually be painted more evenly with light coats rather than one heavy coat.
Flexible finishes are generally preferable where the cork may bend or compress during use. Always test on an offcut before painting the final piece, especially where colour consistency or texture retention matters.
How to fix cork pieces together
Two cork pieces can often be fixed together using adhesive alone, especially for layered builds. Spread adhesive evenly, align carefully and apply pressure across the whole face. For thicker laminations, pressing between flat boards can help maintain alignment while curing.
Mechanical fixing such as pins, staples or small fasteners may be used in some workshop settings, but these are less suitable for thin or brittle sections because cork can split around the fixing point. Where possible, rely on bonding first and use mechanical support only when the application clearly requires it.
How to die-cut cork sheets
Die cutting is useful for repeated shapes such as pads, gaskets, insole parts and component layers. Clean results depend on die sharpness, appropriate backing support and correct press pressure. Too little pressure gives incomplete cuts. Too much pressure can compress the cork and blunt the definition at the edges.
Run a test piece before production. Check not only whether the shape releases cleanly, but also whether the edge remains structurally sound. This matters particularly for thinner sections and finer details.
How to smooth cork surfaces and edges
For edge finishing, use a fine abrasive and work with light pressure. A sanding block gives more control than loose paper and helps keep the line straight. If the surface needs tidying rather than material removal, a light pass is often enough. Over-sanding can open the texture and make the finish look rougher instead of smoother.
Where a cleaner cosmetic result is needed, smoothing may be followed by sealing or coating. This is especially helpful for display pieces, visible repairs or finished consumer products.
How to maintain cork and allow it to cure properly
Adhesive cure time matters just as much as adhesive choice. Even when a bond feels secure early on, full cure may take longer depending on product type, temperature and humidity. Avoid loading, flexing or trimming bonded assemblies too soon. Premature handling can weaken the bond before it reaches full strength.
To maintain finished cork sheets or assemblies, keep them clean and dry and store them flat where possible. Avoid long exposure to excessive moisture unless the product and finish are specifically designed for it. Inspect edges regularly in high-wear uses and repair small lifting areas early before they spread.
What users say
Technicians and workshop users often value cork because it is easier to adjust than many dense plastics or rubbers. Common feedback is that sharp blades, thin even adhesive coats and patient finishing make the difference between a rough quick fix and a reliable professional result. In orthotic settings, users also appreciate cork for its balance of cushioning, shapeability and relatively low weight.
Step-by-step guide
- Select the correct cork sheet thickness and grade for the job.
- Measure the surface or template carefully.
- Mark the cork clearly using a fine guide line.
- Cut with a sharp blade using several light passes where needed.
- Test fit before any adhesive is applied.
- Prepare both surfaces by removing dust and ensuring they are dry.
- Apply the chosen adhesive evenly and follow product instructions for open time.
- Join accurately and apply firm even pressure.
- Allow the bond to cure fully before trimming or loading.
- Smooth edges lightly and seal or paint if required.
- Inspect the finished piece for edge lift, roughness or alignment issues.
- Store unused cork flat, dry and away from contamination.
Frequently asked questions
1. What is the best tool for cutting cork sheet?
A sharp craft knife or utility knife is suitable for most jobs. Thicker materials may benefit from workshop cutting equipment for better consistency.
2. Can cork be glued to rubber, leather or plastic?
Yes, often with a suitable contact adhesive, provided the surfaces are clean and the adhesive is compatible with both materials.
3. Do I need to seal cork before painting it?
Not always, but sealing usually gives a more even finish because unsealed cork absorbs paint readily.
4. Can cork be sanded smooth?
Yes. Use a fine abrasive and light pressure. Aggressive sanding can roughen the surface or distort the edge profile.
5. Is cork suitable for die cutting?
Yes, especially for repeat shapes, as long as the die is sharp and the press settings are correct for the thickness and density.
6. How long should bonded cork be left before use?
That depends on the adhesive used. Follow the product instructions and allow full cure before heavy handling, trimming or load-bearing use.
7. How should cork sheets be stored?
Store them flat in a dry environment away from dirt, moisture and unnecessary heat.
Author bio
Marc Cameron, Algeos - Marc writes practical clinical and technical content focused on materials, fabrication methods and product use in podiatry, orthotics and rehabilitation settings. His work aims to make specialist information clearer and more useful for both clinicians and informed consumers.

Sold: 1 Litre
Incl. VAT Exl. VAT