


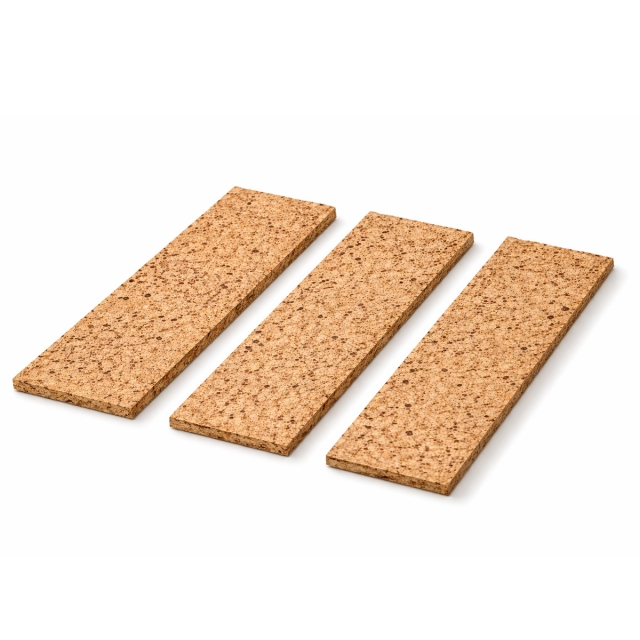
Cork filler paste is a go-to material in shoemaking, orthotics, and leatherwork. Known for its lightweight, flexible properties, it is designed to fill gaps, smooth surfaces and add cushioning in a variety of products. This guide explains both what cork filler is used for and how to apply it effectively.
What is Cork Filler Paste Used For?
Cork filler is made from ground cork blended with a flexible adhesive base (often latex or rubber-based). It’s used to create supportive, cushioned surfaces in footwear and orthotic devices.
-
Shoe Repair and Sole Building
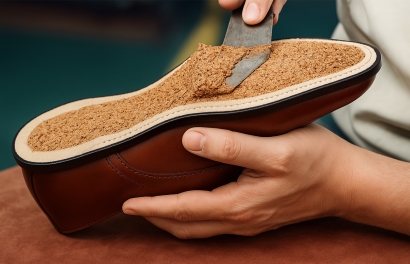
In traditional shoemaking, especially Goodyear welted construction, cork filler is applied between the insole and outsole. It fills cavities to provide structure and moulds to the wearer’s foot over time for a custom feel.
-
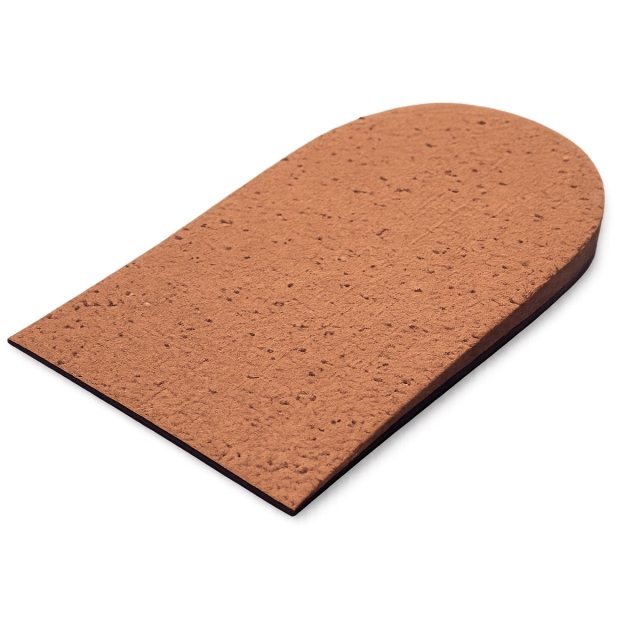
Orthotic and Insole Manufacturing
Used to build up orthotic components like arch supports, heel raises, or forefoot extensions. It offers a firm yet slightly compressible base before top covers or posting materials are added.
-
Patching and Gap Filling
Cork filler is excellent for filling voids in footwear, rubber, EVA, or leather. Once dry, it can be shaped, sanded, or glued over with ease.
-
Heat and Sound Insulation (Secondary Use)
Occasionally used in crafts or industrial settings for lightweight insulation or vibration damping, although this is not its primary function.
Key Benefits
- Lightweight and flexible
- Moulds to the shape of the foot or void
- Good shock absorption and insulation properties
- Adheres well to leather, EVA, and other shoe materials
- Easy to shape and sand once cured
Things to Note
- Allow to cure for 12–24 hours depending on thickness.
- Not waterproof unless enclosed or sealed.
- Keep container sealed to prevent drying out.
How to Apply Cork Filler Paste
Applying cork filler is simple and effective when done correctly. Here’s a practical step-by-step guide:
-
Clean the Surface
Ensure the application area is clean, dry, and free from oil or loose particles. This improves adhesion and final results.
-
Choose Your Tool
Use a flat spatula, putty knife, or palette knife for most applications. For small areas, gloved fingers or sticks can offer control.
-
Scoop and Spread
Apply cork filler generously into the target area. Spread evenly, pressing into cavities or hollows, and feather the edges where needed.
-
Shape and Smooth
Form the desired contour using your tool. Pressing lightly helps compact the filler and produce a level, neat finish.
-
Let It Cure
Leave the filler to dry thoroughly. Full curing can take 12–24 hours, depending on temperature, humidity, and filler depth.
-
Sand or Modify (Optional)
After drying, cork filler can be sanded or reshaped if necessary. This allows further customisation before covering or bonding.
Tips for Best Results
- Apply in layers for deep gaps; don’t overfill at once.
- Use masking tape to control spread and maintain clean lines.
- Store the container in a cool, sealed environment after use.
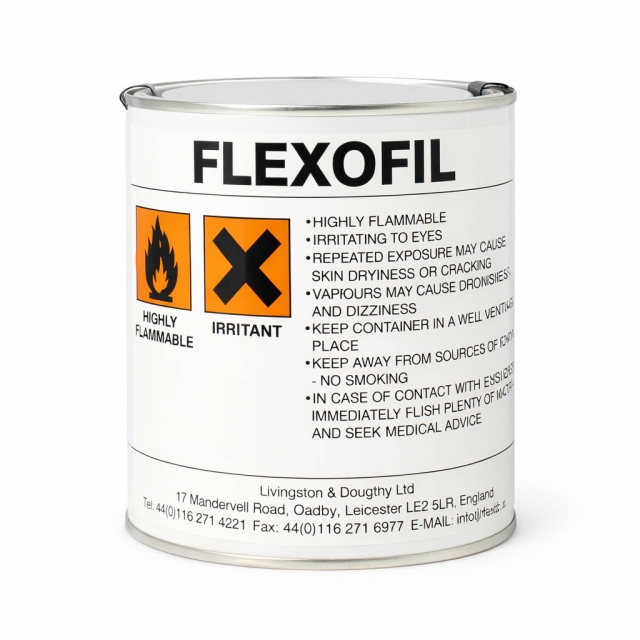

Sold: 1 Litre
Incl. VAT Exl. VAT