


....and Other Materials
A notice pin board is one of the simplest and most useful ways to turn cork sheets into a practical everyday product. With the right backing board, adhesive and finish, you can make a board that works well in clinics, offices, schools, retail spaces and at home.
This guide explains how to choose materials, cut and bond cork, add a frame if needed and finish the board so it looks neat and lasts well in regular use.
Definition box
Notice pin board is a flat display board designed to hold notes, reminders, photographs or printed material using drawing pins or map pins.
Main layers: cork face, rigid backing board, adhesive layer and optional frame or wall mounting hardware.
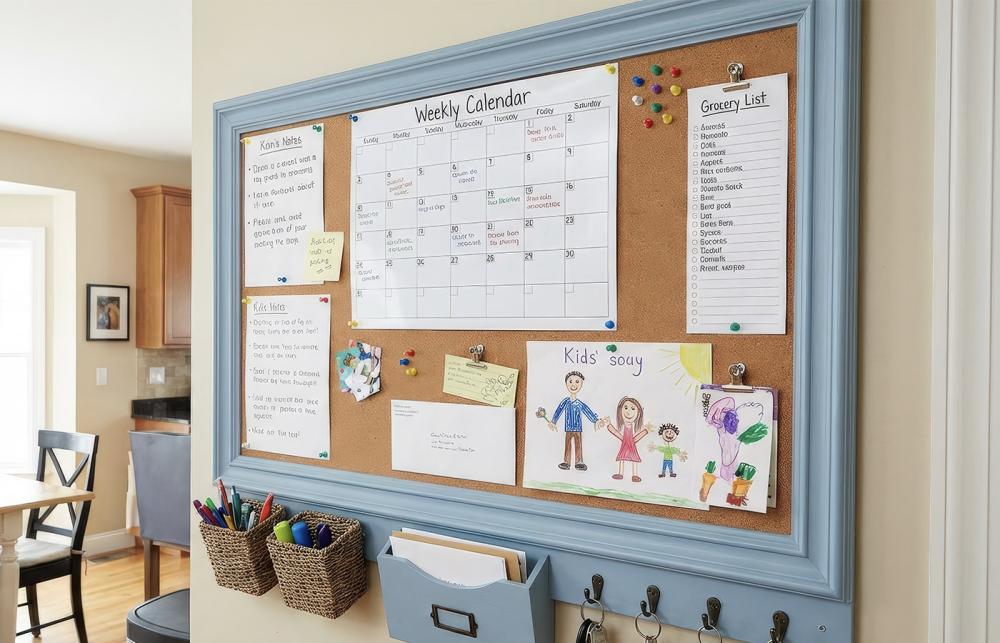
Best use cases: offices, reception areas, classrooms, workshops, clinics, retail displays and home organisation.
Why this project works so well
Cork is a strong choice for notice boards because it accepts pins easily, recovers reasonably well after repeated use and gives a warmer, quieter and more tactile finish than many synthetic alternatives. Composition cork is particularly useful because it is available in sheet form and is widely used for bulletin boards, display panels and general workshop or craft projects.
The quality of the finished board depends less on complicated tools and more on choosing the right sheet thickness, backing surface and bonding method. A well-supported cork layer stays flatter, looks cleaner and resists edge lift better over time.
Materials you can use
You can keep the build simple or make it more decorative depending on where the board will be installed. The most common combination is a cork sheet bonded onto plywood, MDF or hardboard. A frame can then be added for appearance and edge protection.
- Cork sheet or composition cork sheet
- Backing board such as plywood, MDF or hardboard
- Contact adhesive or other suitable panel adhesive
- Optional timber frame, aluminium trim or wrapped fabric border
- Wall fixings, hanging brackets or stand-off mounts
- Sandpaper, cutting tools, ruler, square and roller or pressing board
- Optional paint, sealant or surface finish for frame and backing edges
Choosing the right materials
Cork face: for most notice boards, composition cork is the most practical option because it is designed as a sheet material and suits pinning applications well. Natural cork appearance can feel more decorative, while denser composite cork can feel more robust.
Backing board: plywood usually gives good screw-holding strength and durability. MDF gives a smooth flat base and is easy to cut cleanly. Hardboard can work for lighter boards where cost and weight matter.
Adhesive: contact adhesive is commonly used for cork, leather, foam, rubber and similar workshop materials where a flexible bond is needed. Even coating, correct tack time and firm pressure help the bond perform better.
Frame: use a frame if the board will be wall-mounted in a visible area or used heavily. Frames improve appearance and help protect the cork edge from knocks.
Simple workflow
Measure - mark - cut - dry fit - bond - press - cure - trim - frame - mount - inspect.
This order helps prevent waste and lets you correct size or alignment before the adhesive bond becomes permanent.
Best options by component
| Component | Best for | Advantages | Watch for |
|---|---|---|---|
| Composition cork | General pin boards | Good pin acceptance, practical sheet format, easy to cut | Needs firm backing support |
| Plywood backing | Durable wall boards | Strong, stable and good for fixings | Can need more finishing on edges |
| MDF backing | Smooth indoor boards | Flat, easy to machine and neat looking | Keep dry and seal edges |
| Contact adhesive | Full-face cork bonding | Flexible bond and fast assembly | Needs accurate placement |
| Timber frame | Decorative and heavy-use boards | Protects edges and improves finish | Adds weight and labour |
| Frameless finish | Minimal modern boards | Clean look and simple build | Edges are more exposed |
Step-by-step guide
1. Decide the board size and location
Start with the space available. A small board may suit a treatment room, desk area or kitchen wall. A larger board may suit staff rooms, classrooms or shared office spaces. Think about whether the board will be portrait or landscape and whether it needs a frame or simple hidden fixings.
2. Choose a cork sheet thickness
The cork needs enough body to accept pins without feeling too shallow. Thicker boards often feel better in use, but the cork still needs rigid support underneath. For heavy daily use, avoid very thin material that may show backing pressure too easily.
3. Cut the backing board
Measure carefully, mark square lines and cut the backing board first. Check the dimensions before cutting the cork. Sand the edges lightly so the backing board sits cleanly and does not leave raised burrs under the cork or frame.
4. Cut the cork sheet
Place the cork on a stable surface and cut with a sharp knife using several light passes rather than one heavy cut. Keep the blade straight and replace it early if it starts to drag. A neat cut reduces the amount of finishing needed later.
5. Dry fit before bonding
Lay the cork onto the backing board without adhesive and check all margins. If you are adding a frame, allow for the frame rebate or overlap. Dry fitting makes it much easier to correct any small sizing issue before assembly.
6. Prepare the surfaces
Remove dust from both surfaces and make sure they are dry. Porous materials can absorb adhesive differently across the face, so aim for a clean and consistent surface before application. This is especially important with MDF and raw timber boards.
7. Bond the cork to the backing board
Apply adhesive evenly according to the product instructions. Contact adhesives are often used for cork and similar materials because they give a flexible bond and work well across large flat surfaces. Once the adhesive reaches the right tack stage, place the cork carefully and press from the centre outward to reduce trapped air.
8. Press and cure
Use a hand roller, flat pressing board or firm even pressure across the full surface. Pay extra attention to the edges and corners. Leave the panel undisturbed for the full cure period recommended by the adhesive manufacturer before trimming, framing or hanging.
9. Trim and finish the edges
After curing, trim any tiny overhangs with a sharp blade. Sand the backing board edges or frame components lightly if needed. If the board is frameless, make sure the cork edge is neat and well bonded. If it will be used in a public or professional setting, a frame usually gives the cleanest result.
10. Add a frame or border
A timber frame can be painted, stained or sealed to suit the room. For a softer decorative look, some makers use wrapped fabric borders or painted battens. The frame should sit neatly around the cork without crushing it.
11. Fit wall fixings
Choose fixings based on the board size and wall type. D-rings, mirror plates, French cleats or concealed keyhole fixings can all work. Heavier boards should be mounted with secure hardware that keeps the panel level and supported across the wall.
12. Inspect before use
Check that the cork surface sits flat, corners are secure, the board does not flex excessively and the fixings are firm. Test a few pins to make sure they insert cleanly and hold paper well.
Watch the build process
These embedded YouTube videos show different ways to make a cork notice board, including simple panel builds, framed versions and adhesive-focused methods.
How Can I Make a Cork Bulletin Board?
Useful for a simple overview of layout, material selection and final assembly.
DIY Cork & Pin Board
Helpful if you want to adapt a frame into a cork board for home or office use.
How to Glue a Cork Sheet
Best for the bonding stage where even adhesive coverage and pressure make the biggest difference.
Picture Frame Cork Board
A good option if you want a more polished framed finish for a visible wall space.
How-To: Make a Custom DIY Framed Corkboard
Useful for a custom framed build with a more decorative finished result.
For best results, watch one general build video, one framed-board video and one adhesive-focused video before starting.
How the board performs in use
A notice pin board works best when the cork layer remains stable and the backing board carries most of the structural load. The cork provides the pin-holding face, while the backing keeps the surface flat and prevents sagging. This is why full-face bonding and even pressure during assembly matter so much.
For lighter office use, a basic cork-and-board panel may be enough. For frequent pinning in schools, clinics or shared workspaces, a more durable cork sheet and a stronger backing board usually deliver better long-term results.
Common mistakes to avoid
The most common problems are uneven adhesive coverage, rushing the bond, poor backing support and trimming with a dull blade. Another common issue is hanging a large board with fixings that are too light for the board weight.
If the board looks rippled or bubbles appear later, the cause is often poor pressure during bonding or movement before full cure. If the corners lift, check adhesive coverage and whether the edge was pressed firmly enough during assembly.
What users say
People making their own cork boards often like the balance between simplicity and flexibility. The project can be very basic with just cork and backing board, or more premium with timber framing, painted finishes and concealed wall mounting. Users also tend to value cork because it feels warmer and quieter than metal or plastic display systems.
Maintenance and care
Keep the board dry and avoid prolonged damp conditions, especially if the backing board is MDF or unfinished timber. Dust the surface lightly and inspect the corners and edges from time to time. If a small area begins to lift, repair it early before the gap spreads.
Where the board is installed in a very busy area, a frame helps protect the cork edges from repeated knocks and helps the board stay presentable for longer.
Frequently asked questions
1. What is the best backing board for a cork notice board?
Plywood and MDF are the most common choices. Plywood is strong and durable, while MDF gives a very flat smooth base for indoor use.
2. Can I glue cork directly to a wall?
It is possible, but a separate backing board usually gives a better finish, easier mounting and more reliable long-term performance.
3. Which adhesive is best for cork sheets?
Contact adhesive is commonly used where a flexible full-face bond is needed between cork and rigid backing materials.
4. Do I need a frame?
No, but a frame improves appearance and helps protect the edges, especially on boards used often or mounted in public spaces.
5. Can I paint the frame or border?
Yes. Painted or sealed timber frames work well and can be matched to room décor or branding.
6. Why is my cork surface bubbling?
This is often caused by uneven adhesive coverage, poor pressing or movement before the adhesive has fully cured.
7. Is composition cork suitable for notice boards?
Yes. Composition cork is commonly used for bulletin boards and is a practical choice for pinning applications.
Author bio
Marc Cameron, Algeos - Marc writes practical clinical and technical content on materials, fabrication methods and workshop processes used across podiatry, orthotics, rehabilitation and general fabrication settings. His articles aim to make specialist information clear, useful and easy to apply in real-world environments.